
See the product

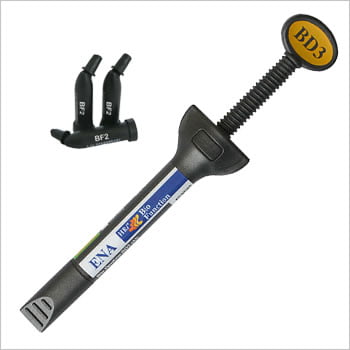
See the product
See the product
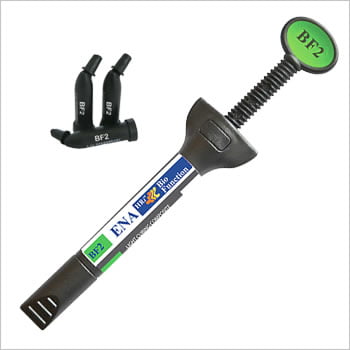
See the product
See the product
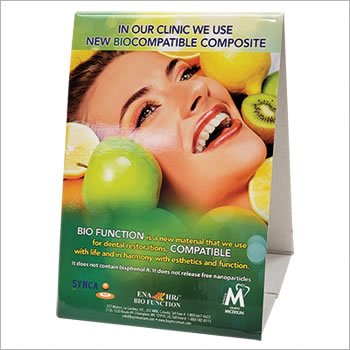
Bio Function offers a perfect integration in harmony with the human body without releasing any toxic substances. It cures in the highly stability resin matrix that does not releases and free nanoparticles in the powders generated by finishing and polishing that can be absorbed by the body.
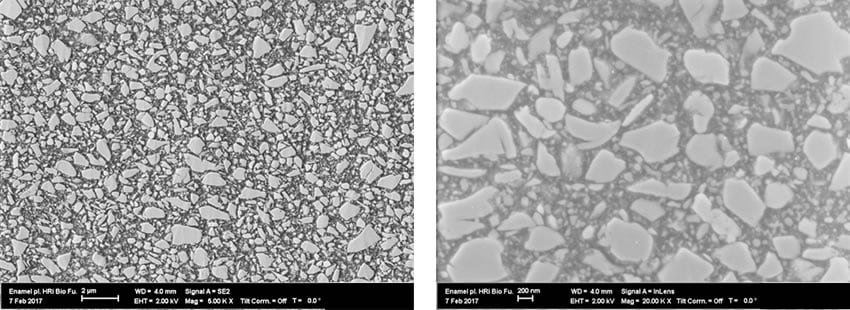
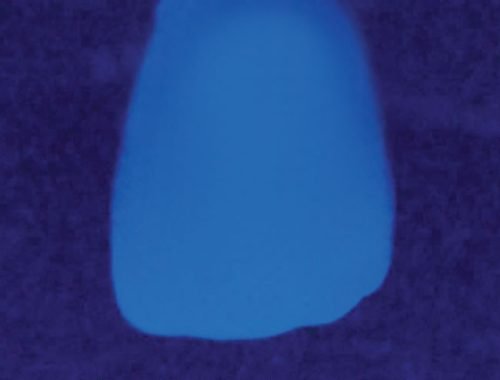
SEM image shows particle clusters superior to 1 micron
> MSDS
> INSTRUCTIONS
> ARTICLE: Methods of Intraoral Repair of Fixed Prosthesis
> PAMPHLET
Gold |
Bio Function |
 |
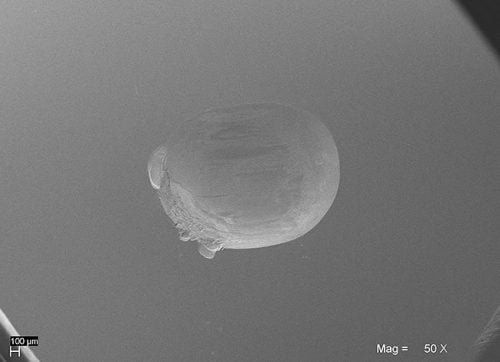 |
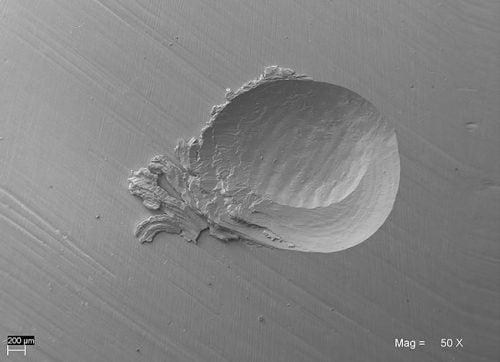
50x SEM images. The abrasion of Bio Function is similar to gold and therefore to natural enamel.
Gold |
Bio Function |
 |
 |
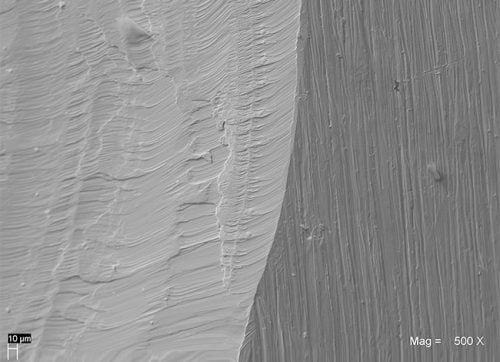
500x SEM images. The surface of Bio Function appears abraded in a regular and uniform way.
| Wear Depth (mm) |
Volume Loss (mm3) |
|
| Natural enamel | 0.216 (0.070) |
0.404 (0.200) |
Bio Function (1) |
0.252(0.059) |
0.454(0.057) |
Bio Function (2) |
0.212(0.052) |
0.375(0.052) |
| Gold type III | 0.219 (0.060) |
0.328 (0.140) |
| Pressed Ceramic | 0.303 (0.065) |
0.531 (0.143) |
| Composite F (1) | 0.464 (0.069) |
0.972 (0.247) |
| Composite F (2) | 0.459 (0.068) |
1.017 (0.239) |
University of Chieti – Prof. Camillo D’Arcangelo
(1) Light cured with dentist’s curing unit
(2) Light cured with Laborlux – curing unit for laboratory; it cures with heat (70°C)
Composite F: reference composite chosen after identified as the best among the ones tested during the preliminary phase
SEM: after 120 000 cycles by two-body wear test in a dual axis chewing simulator
 |
 |
| Natural tooth |
Restoration done with dentin & enamel Bio Function
|
| Physical Data | MPa |
| Vickers hardness | 685 |
| Flexural Strength | 150 |
| Modulus of elasticity | 11600 |
| Compressive Strength | 460 |
 |
 |
 |
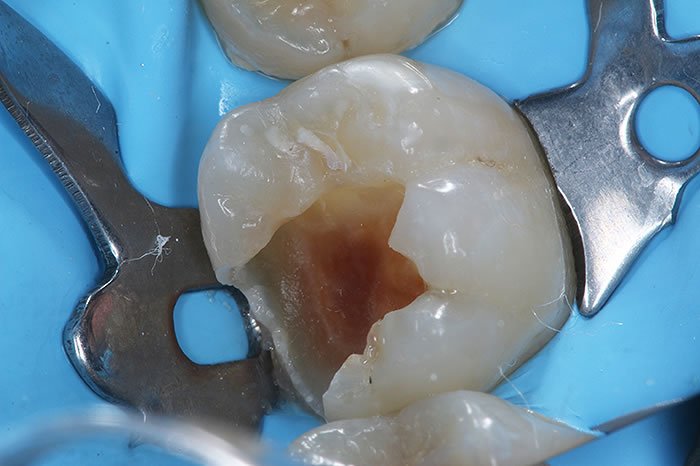
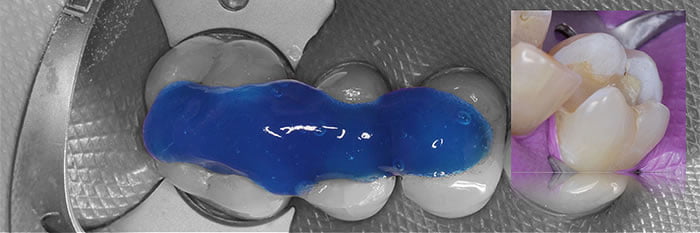
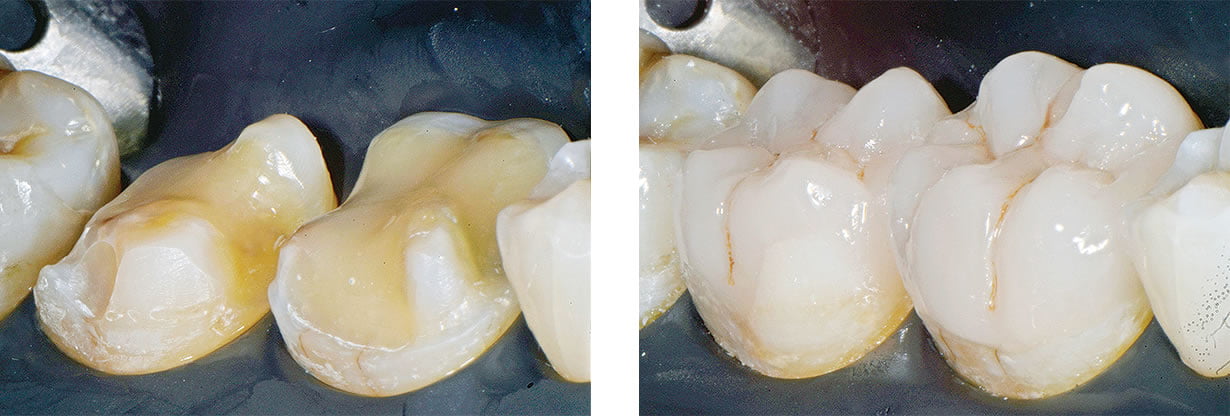
Step 1Rubber dam is placed to provide isolation, followed by cavity preparation and cleaning of the tooth surface. |
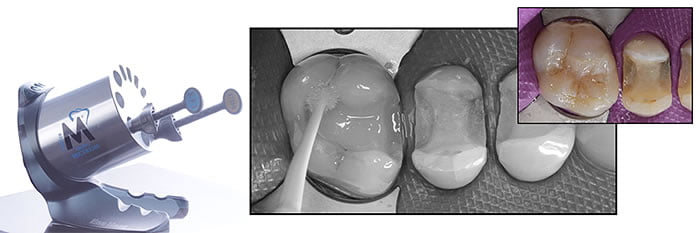
Step 2Preparation in slightly over-filled using Bio Function Enamel BF1.
|
Step 3An instrument is used to form the cusp angle and remove an overfilled composite.
|
 |
 |
 |
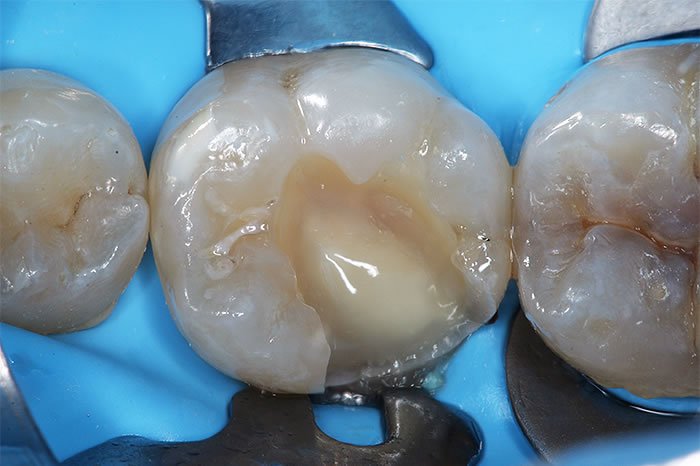
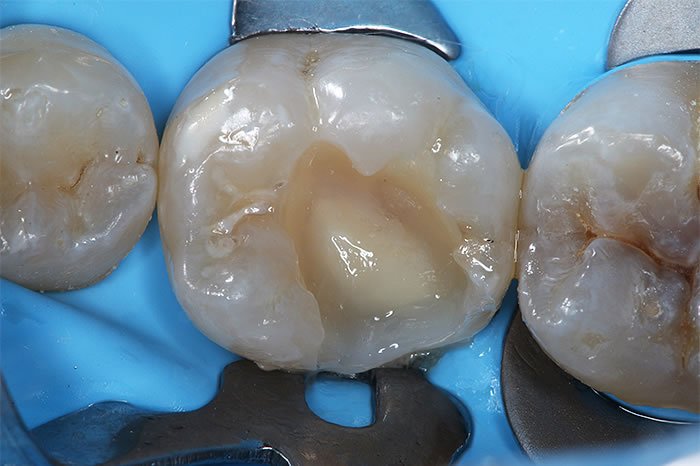
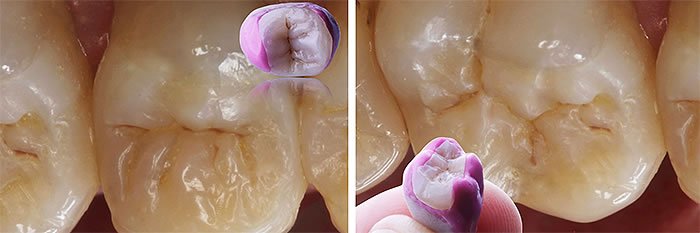
Step 4Rough design and position of cusp and ridge, following by rough creation of fissure.
|
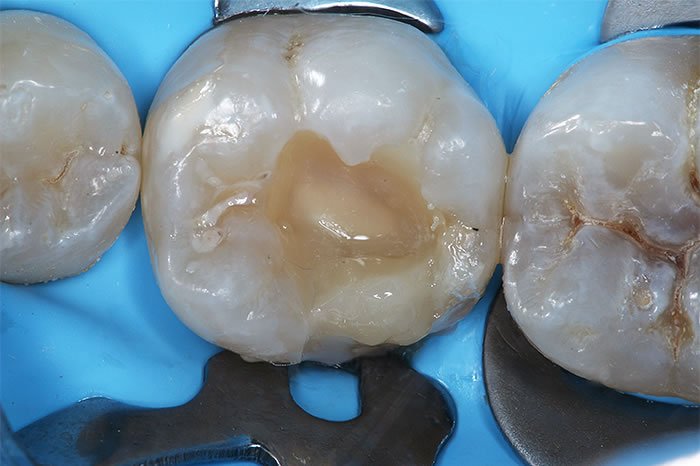
Step 5A small amount of Dark Brown stain is applied using a file.
|
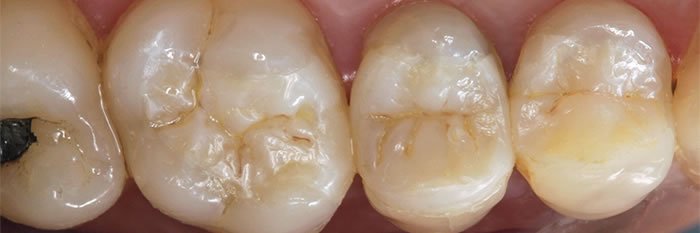
Step 6Post-operative image.
|
 |
 |
 |
Step 1Pre-operative.
|
Step 2Pre-operative lingual view (note the gingival condition due to the loss of tooth structure).
|
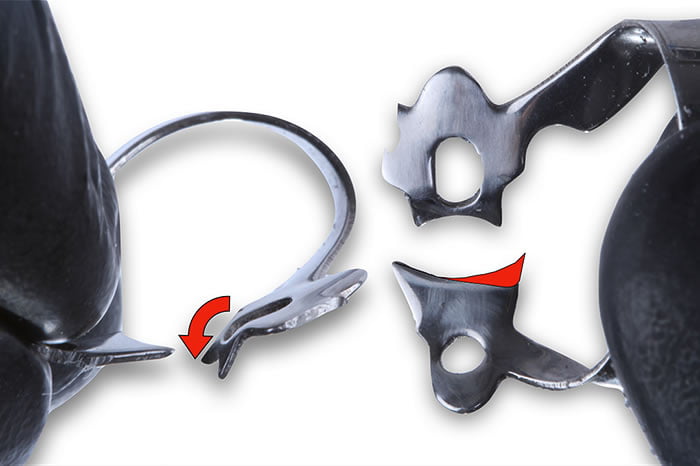
Step 3Anterior rubber dam clamp is modified for adaption to the case.
|
 |
 |
 |
Step 4Isolation with rubber dam.
|
Step 5Following adhesive procedure, application of a small amount of Bio Function Dentin (BD5), while leaving space for an enamel thickness needed in the lingual area (0.3mm).
|
Step 6Lingual application of Bio Function Enamel BF1 (0.3mm).
|
 |
 |
 |
Step 7Application of Bio Function Dentin BD4 on the dentine base creating the cusp.
|
Step 8Dentine cusp is covered with Bio Function Enamel BF1 on the lingual area; Bio Function Dentin BD4 is applied to the occlusal side following the natural dentine shape to create the final enamel layer.
|
Step 9Occlusal layer is completed with Bio Function BF1 from cusp to cusp, followed by application of BROWN stain.
|
 |
 |
 |
Step 10Post-operative mesial view.
|
Step 11Occlusal check.
|
Step 12Final post operative.
|
 |
 |
|
Step 13Final post operative.
|
Step 14Final post operative.
|
 |
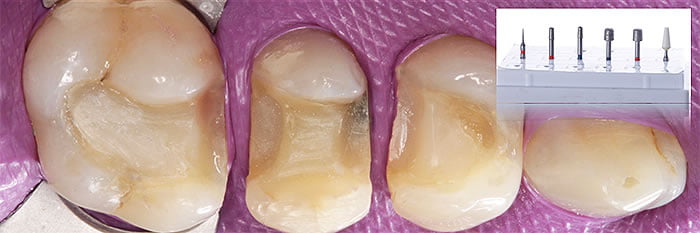 |
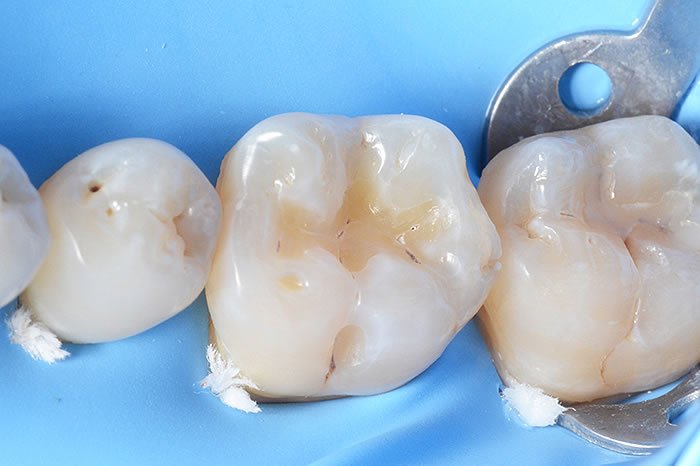
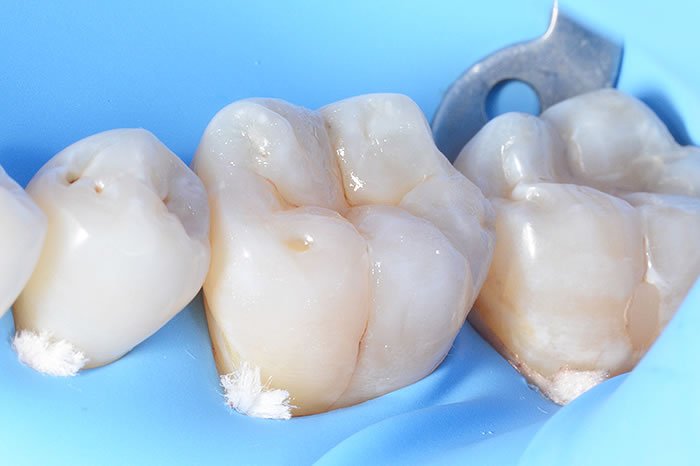
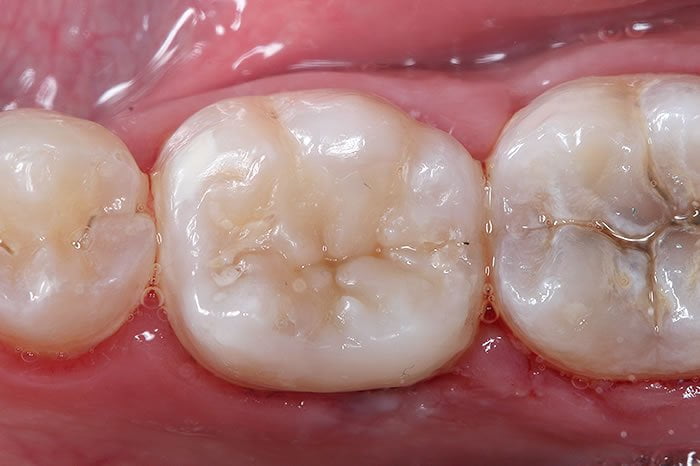
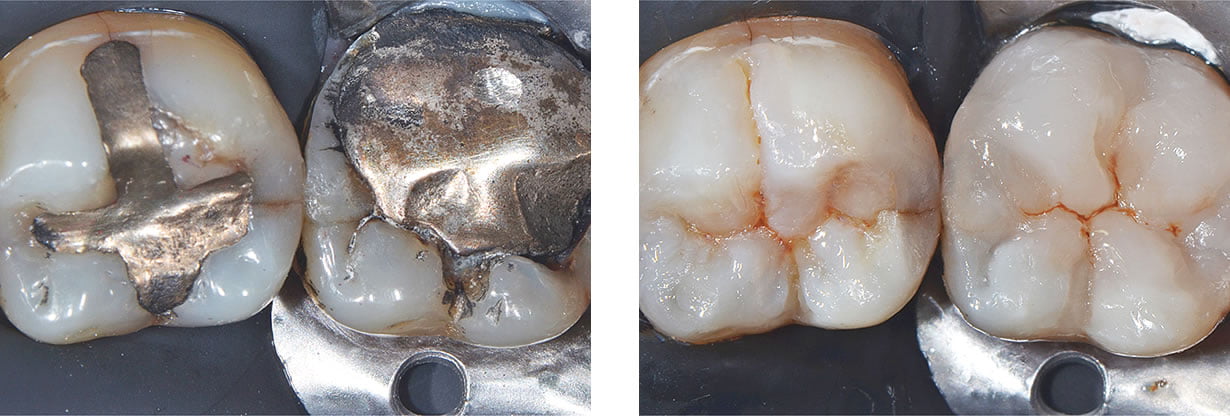
Step 1Pre-operative. 46 y.o. patient with periodontal pain and lack of contact points. Hyperemic pain on tooth 15.
|
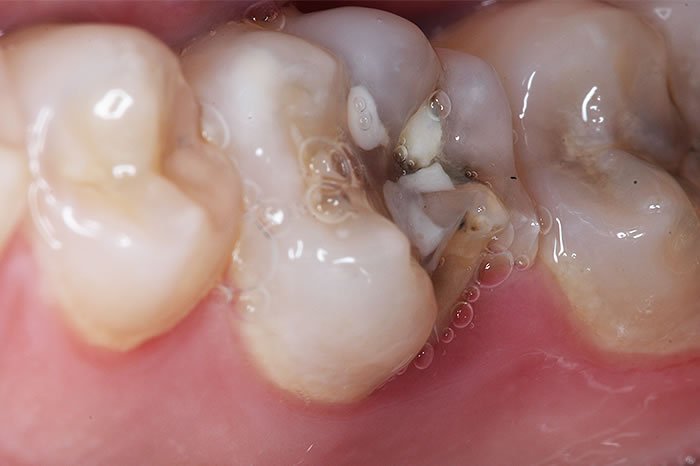
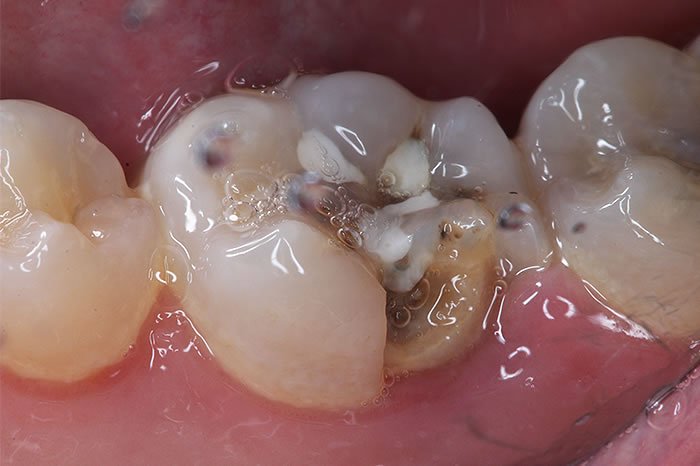
Step 2Anaesthesia in the upper right quadrant, old restorations are removed. Caries are removed. All undercuts are filled with a highly filled flowable composite. Teeth are prepared using a classical inlay preparation (flat floor, walls slightly divergent and internal rounded corners). Vestibular wall of tooth 15 presented vertical cracks and its thickness was less and 2mm; for this reason, cusps are covered to achieve the needed thickness. Finishing the preparation, dentine is sealed to reduce gaps after cementation, increase adhesion values, and to reduce post-operative sensitivity, bacteria micro infiltration and dentine contamination. |
 |
 |
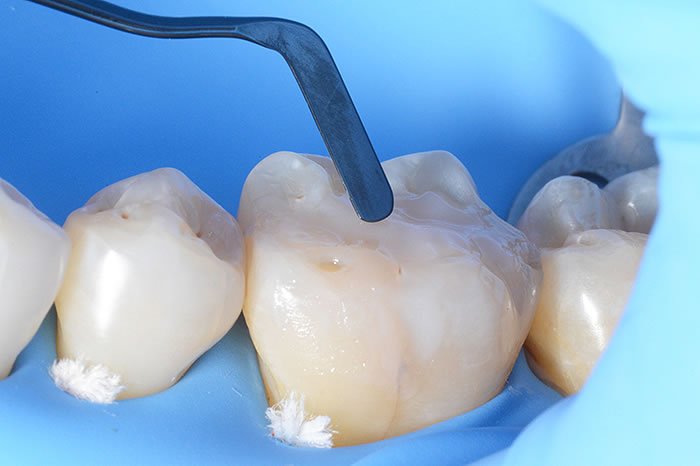
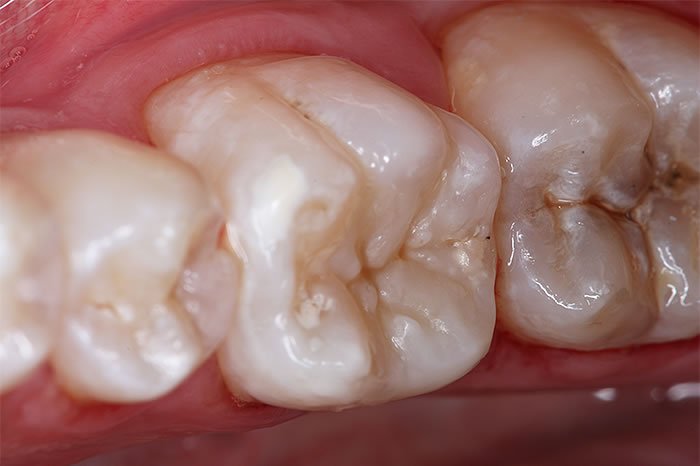
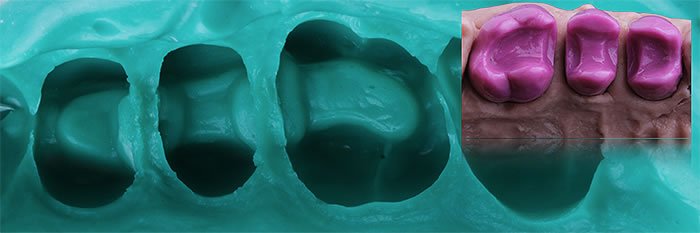
Step 3Impression is taken with a silicone medium and light to create the work models for multiple restorations.
|
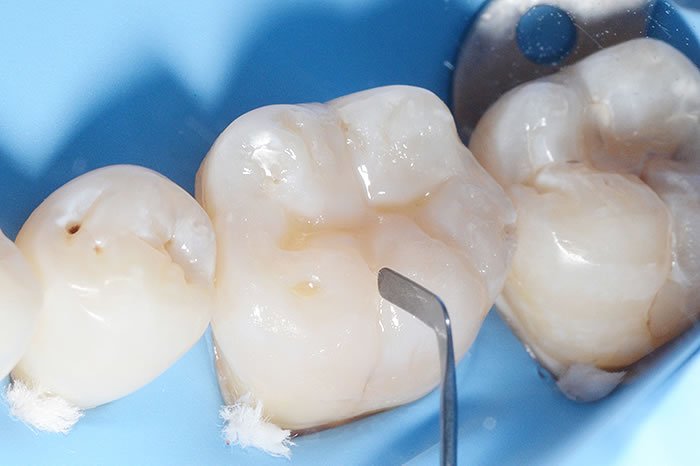
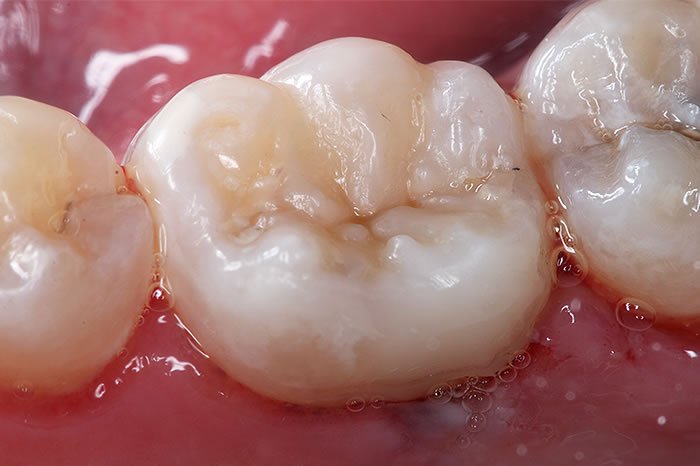
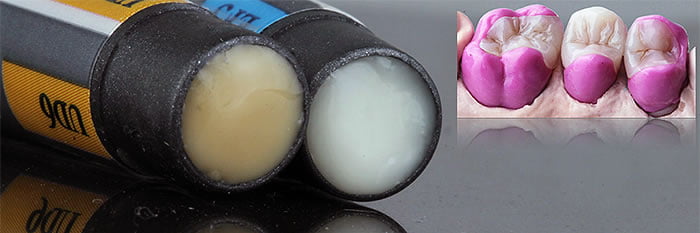
Step 4Three restorations are created using the Simple Stratification Technique (Técnica de Estratificación Simple -TES) a technique developed by us, where we only use two composite shades (a hyperchromatic dentine and a translucent enamel).
|
 |
 |
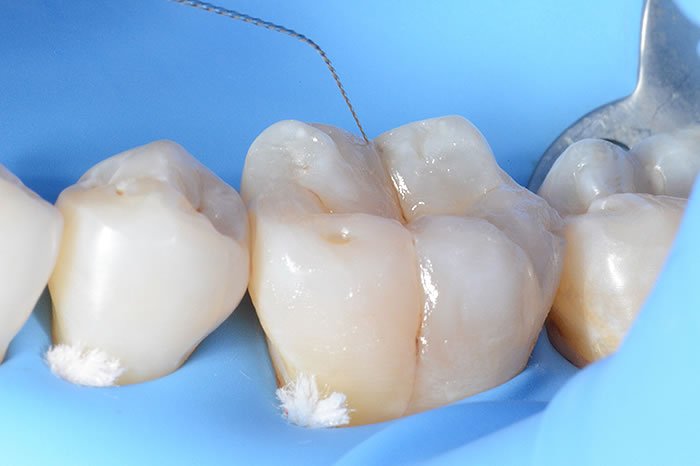
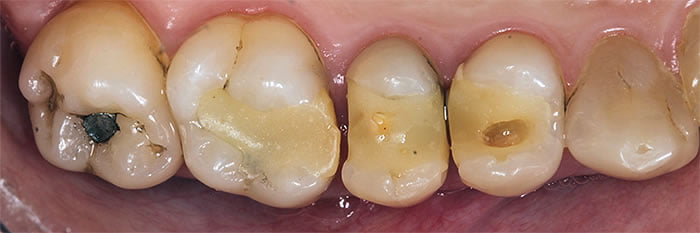
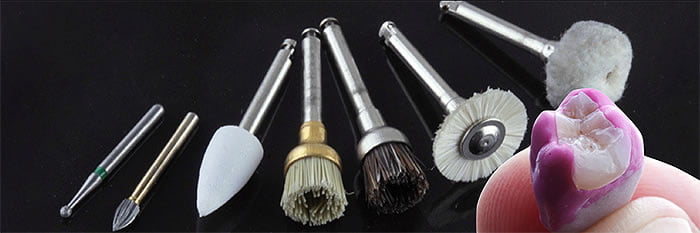
Step 5All the indirect restorations were polished following a protocol based on a first step of correction with stones, multiblade burs and rubber points and a second step of polishing with silicon points, hair goat brushes and felt wheels.
|
Step 6After the try-in, the internal parts of the inlays where sandblasted with 50 micron aluminium oxide for 10 seconds at a distance of one centimetre. 37% etching gel was applied for one minute to eliminate contamination. The restorations were rinsed and dried carefully. An adhesive coat was applied spread with gentle air was spread with air.
|
 |
 |
Step 7For clinical cementation, the field was isolated; preparations were etched and dental adhesive was placed. The adhesive layer was spread with air with low pressure to avoid undesired thicknesses that could interfere with the sitting of the inlays.
|
Step 8The restorations were cemented from distal to mesial. We cemented using heated composite, as all inlays had a minimum thickness (2mm for inlays on teeth 16 and 14, and 2,5 mm for the inlay on tooth 15). This technique using light-cured composite allows for longer working times and use of an interface of the same material used to made the restorations.
|
 |
 |
Step 9(Immediate post-operative) We carefully cleaned the interproximal spaces, removed the rubber dam and checked the occlusion. We did the needed adjustments and we polished all the surfaces with silicone points. We completed with a 2-minute polymerization of each tooth surface
|
Step 102 year follow up.
|

Courtesy of Dr. Lorenzo Vanini
Courtesy of Dr. Jun Iwata
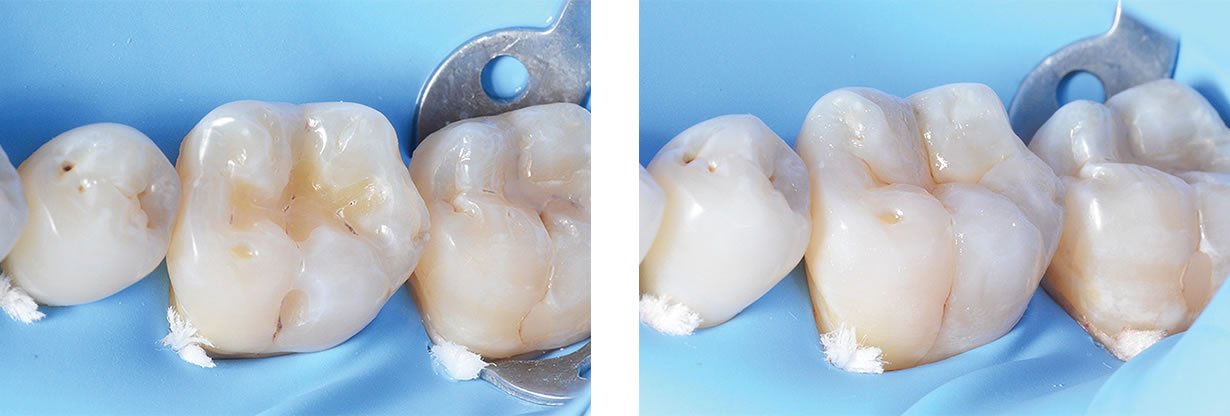
Courtesy of Dr. Andres Roman
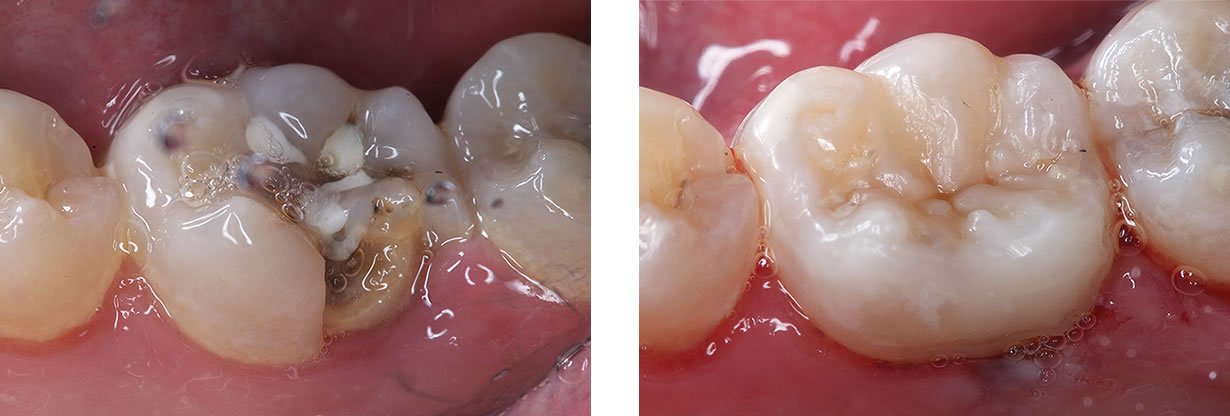
Courtesy of Dr. Pablo Santoro
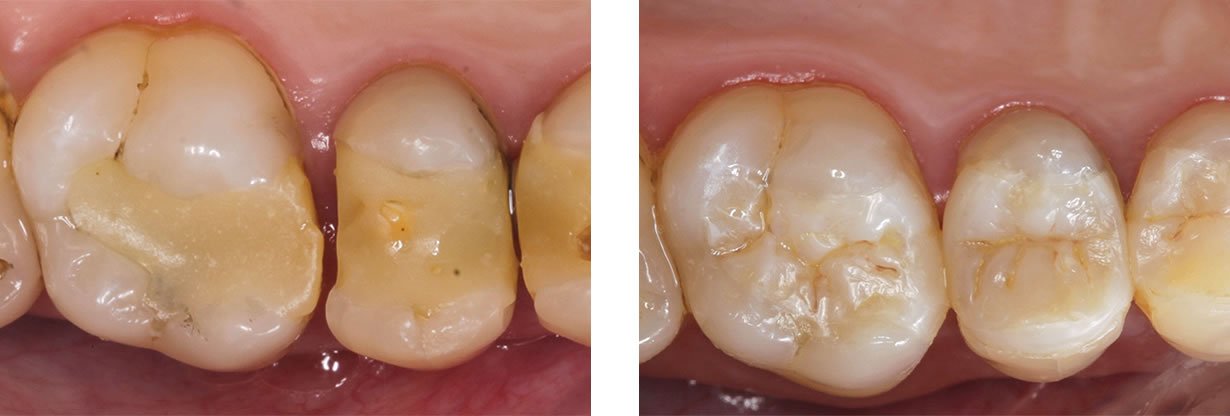
Courtesy of Dr. Vassnia Nizama Peralta
Courtesy of Dr. Vassnia Nizama Peralta
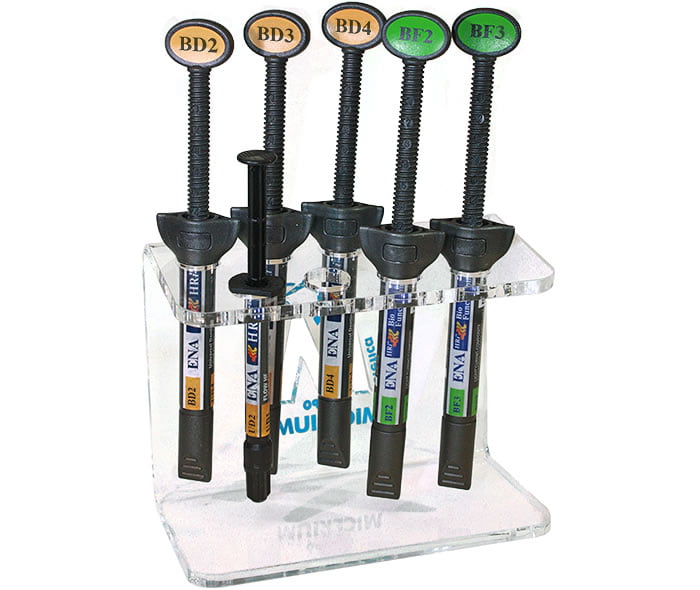
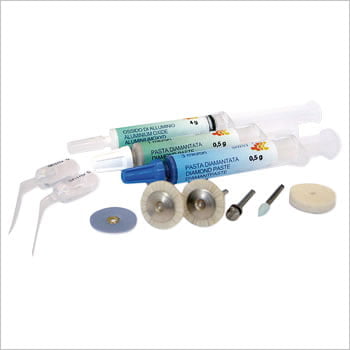
This kit includes necessary materials to get started with Bio Function to complete restorations, without the complete shade selection for more advanced and complex anterior restorations.
Contains:
Optional:
(Available in 5g syringes OR 12 x 0.3g tips)