Main Menu
See the product


See the product
See the product
See the product
See the product
See the product
See the product
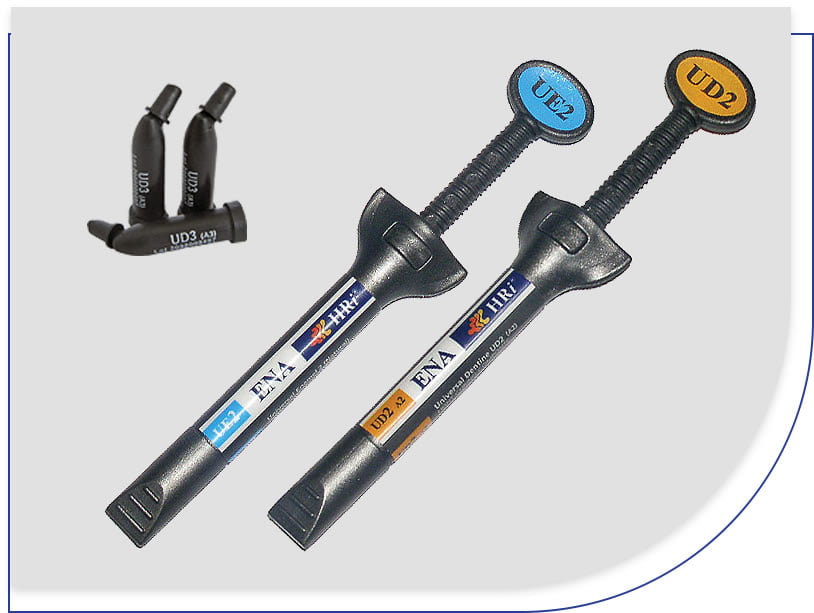
ENA HRi® nano-hybrid composite produces incredibly natural looking composite restorations. ENA HRi® enamel and dentine shades feature a list of unique properties that allow clinicians to match a natural tooth’s optical properties to produce incredibly life-like restorations with invisible margins.
 | ENA HRi® was developed in Italy by Micerium S.p.A. based on the ideas, research and principles of Dr. Lorenzo Vanini. |
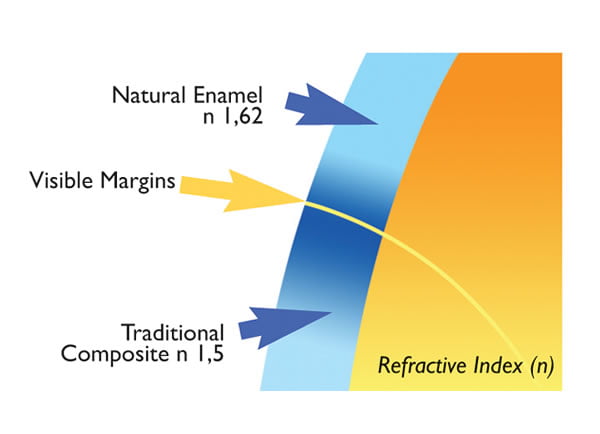
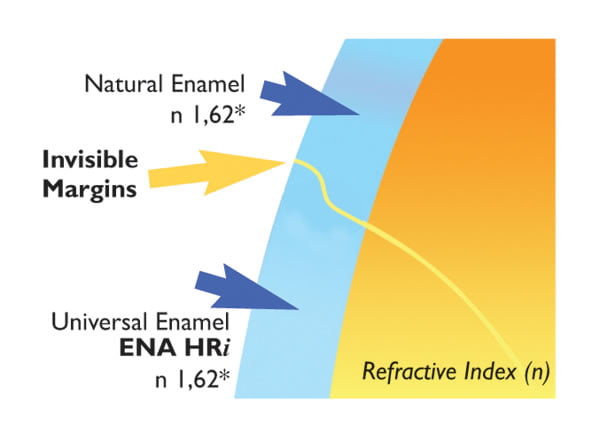
The key to ENA HRi esthetics is an exclusive patented enamel composite material. ENA HRi enamel composite refracts light like human enamel. This development creates invisible margins without the need to compensate by increasing bevels and increasing the thickness of dentin composite.
The HRi system contains only 3 achromatic enamel shades, and these are related to the patient’s age group. Young enamel is very bright [high value = UE3]. As patients approach middle age, this value decreases [medium value = UE2]. The process continues as patients reach their senior years [low value = UE1].
| UE1 | UE2 | UE3 |
| Low value enamel | Medium value enamel | High value enamel |
| Older patients | Middle aged patients | Younger patients |
HRi enamel shades allow clinicians to obtain invisible margins, without compensatios (increasing bevels and increasing the thickness of dentin composite). This is obtained through the exclusive patented refraction index of HRi enamel shades, with is identical to human enamel:
| Composite | Refractive Index |
NATURAL ENAMEL | 1.6200 |
ENA HRi (Micerium) | 1.6200 |
| Clearfill Majesty (Kuraray) | 1.5320 |
| Filtek Supreme (3M) | 1.5270 |
| Point 4 (Kerr) | 1.5230 |
| Esthet-X (Dentsply) | 1.5210 |
| Venus (Kulzer) | 1.5210 |
| Tetric Ceram (Ivoclar) | 1.5195 |
| Kalore (GC) | 1.5132 |
If you are frustrated with spending precious time to produce a high level esthetic composite restoration, only to be disappointed in the result, it’s not your fault. With traditional layering techniques, it’s a hit-or-miss process.
Popular enamel composites produce a graying effect as they are applied in thicker layers, because their refraction index is not tuned to human enamel. The only way they achieve results is through a complicated and unpredictable layering technique. Even if successful under certain lighting conditions, these restorations are subject to metameric failure.
Traditional restorations leave visible margins
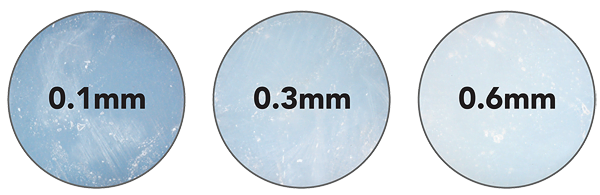
Invisible margins, reproducing with HRi the same thickness of the natural enamel. *Measurements refractive indices from the University of Fraunhofer Institute Dresden, on enamel shells natural and universal enamel HRi.
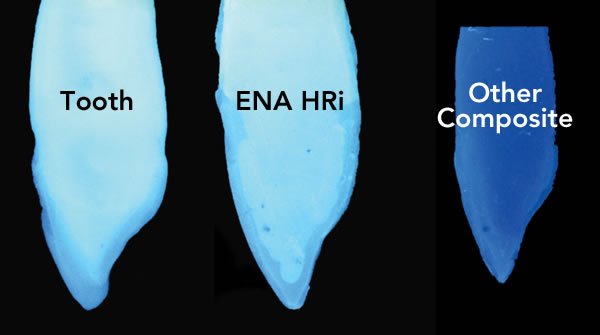
The HRi system dentin shades make up the dentin mass that transmit their hue and chroma through the enamel mass. The shades are highly fluorescent and are designed to work with the HRi enamel shades for optimal results.
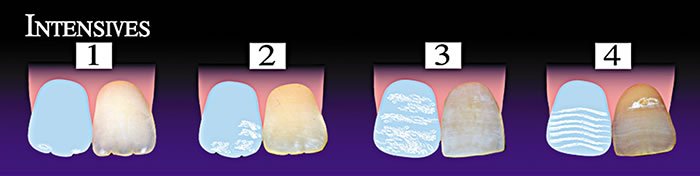
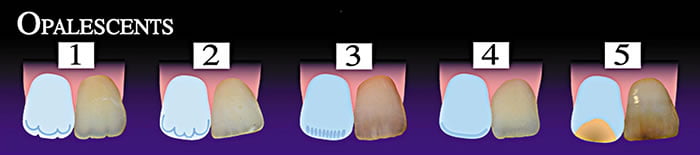
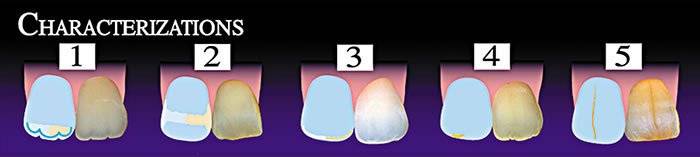
HRi offers additional shades to reproduce the characterization of an individual’s nature dentition.
These shades include:
INTENSIVE
Intensive Milky, Intensive White Spot
OPALESCENT
Opalescent Amber, Opalescent Blue
CHARACTERIZATION
White, Blue, Brown, Brown2 Dark, Orange, Yellow
| Product name | Vickers hardness (MPa) | Flexural strength (MPa) | Young modulus (MPa) | Compressive strength (MPa) | Tensile strength (MPa) |
ENA HRi (Micerium) | >700 | 170 | 14500 | 450 | 45 |
| Premise (Kerr) | 520 | 117 | 8824 | 405 | 40 |
| Herculite (Kerr) | 600 | 144 | 8450 | 368 | 45 |
| Simile (Pentron) | 660 | 150 | 13770 | 423 | 41 |
| Cerem X (Dentsply) | 536 | 121 | 10556 | 347 | 32 |
| Filtek Supreme (3M) | 823 | 160 | 13300 | 407 | 51 |
| Evo Ceram (Vivadent) | 515 | 120 | 8720 | 385 | n/a |
Rel. wear factor [ 200 000 cycles ]
HRi shows superior resistance to wear – it is designed for both simple and complex direct and indirect restorations.
 |  | 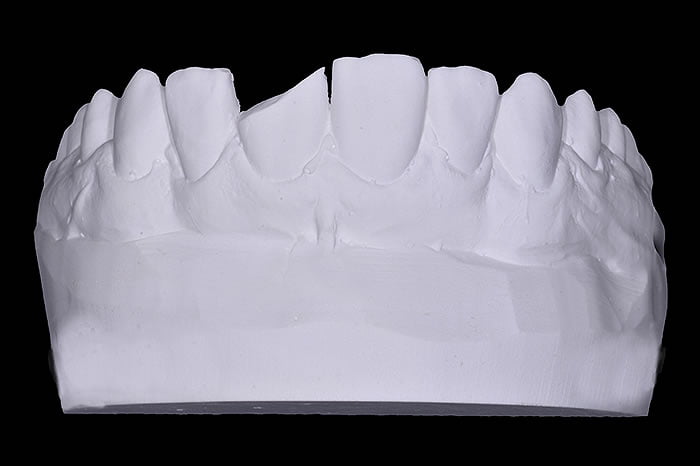 |
Step 1Complex fracture of central incisor | Step 2The fracture is deep with pulp exposure | Step 3Plaster model |
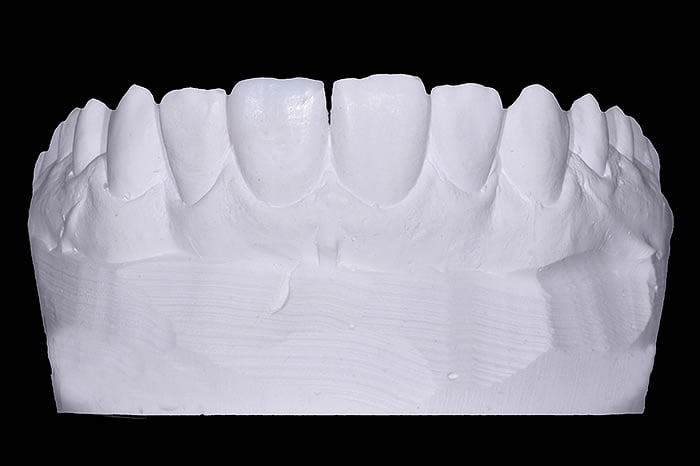 | 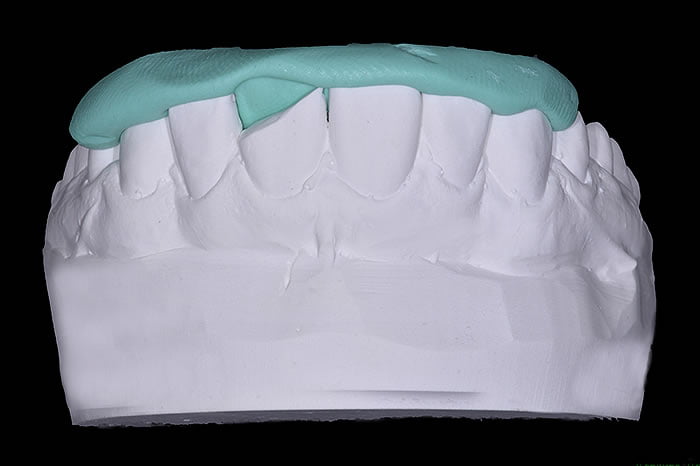 |  |
Step 4Wax-up | Step 5Silicon stent setting | Step 6Silicon stent setting |
 |  |  |
Step 7Cavity preparation and pulp capping | Step 8Cavity preparation and pulp capping | Step 9Stent try in |
 |  |  |
Step 10Etching with Ena Etch | Step 11Adhesive application of Ena Bond | Step 12Application of a layer of enamel UE2 directly on the silcon stent |
 |  |  |
Step 13Build up of the palatal wall with UE2 | Step 14Build up of the palatal wall with UE2 | Step 15Build up of the palatal wall with UE2 |
 |  |  |
Step 16Build up of the interproximal wall with a acetate matrix with con UE2 | Step 17Build up of the interproximal wall with a acetate matrix with con UE2 | Step 18Build up of the dentine body with UD3 |
 |  |  |
Step 19Build up of the mamelons with UD1 | Step 20Characterization of the margin with OA | Step 21Build up of the Opalescence with OBN |
 |  |  |
Step 22Application of Intensive IWS | Step 23Vestibular wall with UE2 | Step 24Macro and micro geography |
 |  |  |
Step 25Macro and micro geography | Step 26After polishing | Step 27Case finished |
 |  | |
Step 28Case finished – palatal view | Step 29Case finished – picture with polarizator |
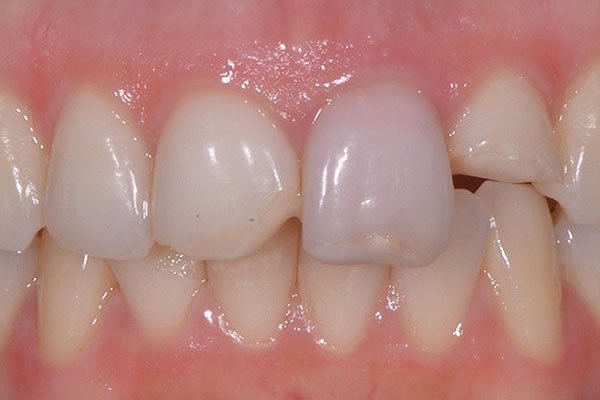 | 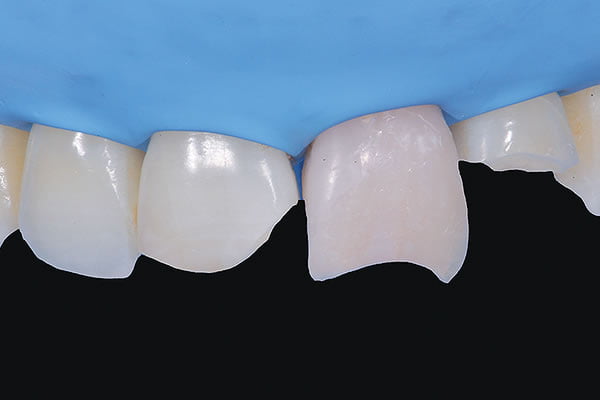 | 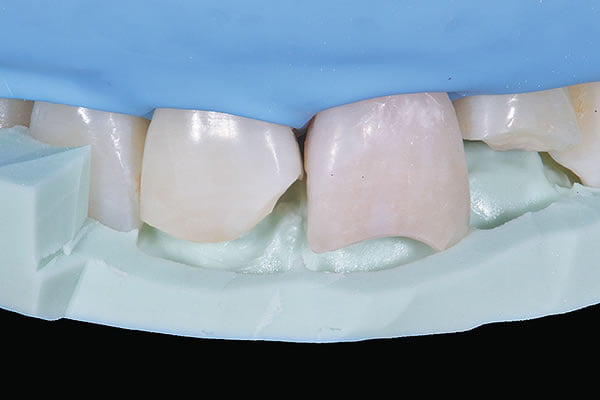 |
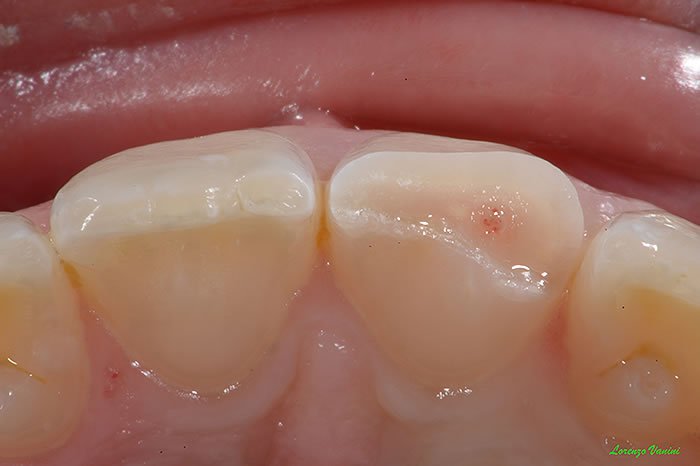
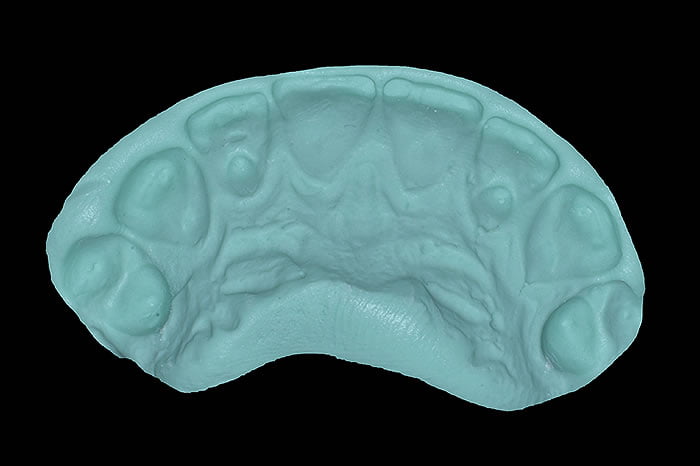
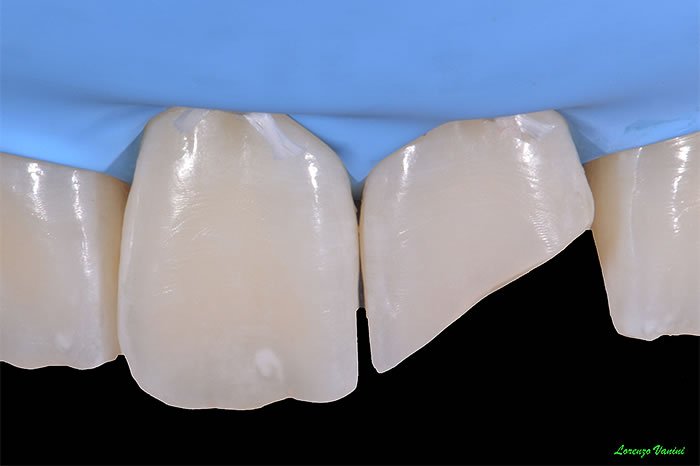
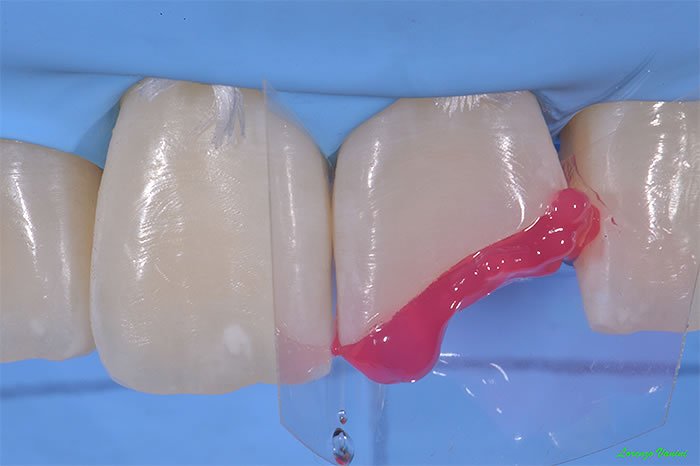
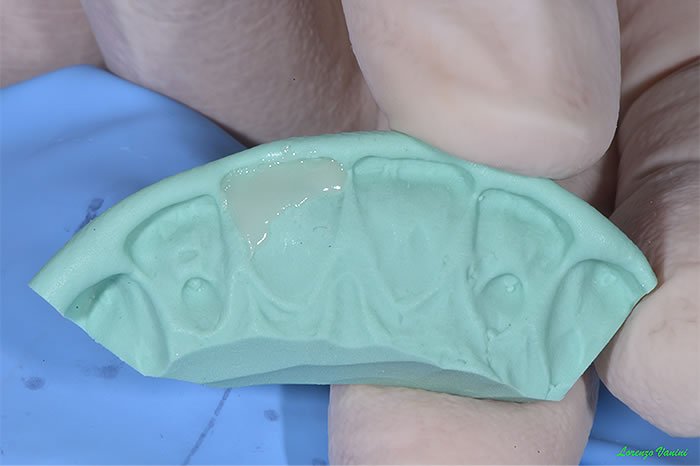
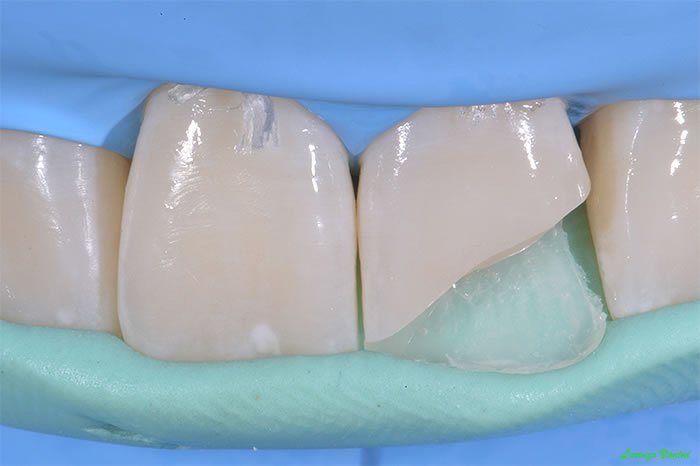
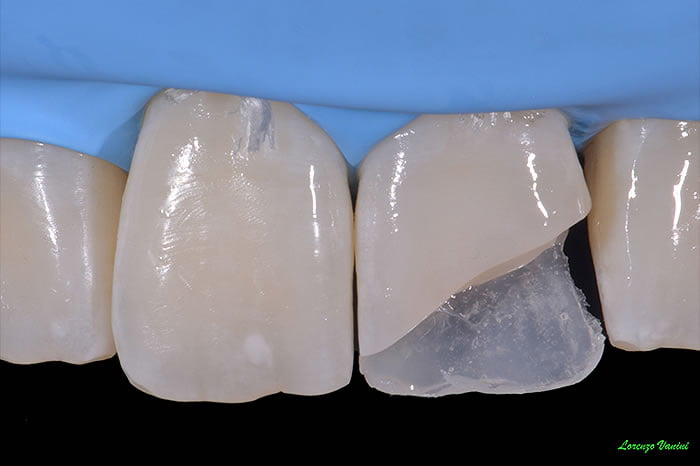
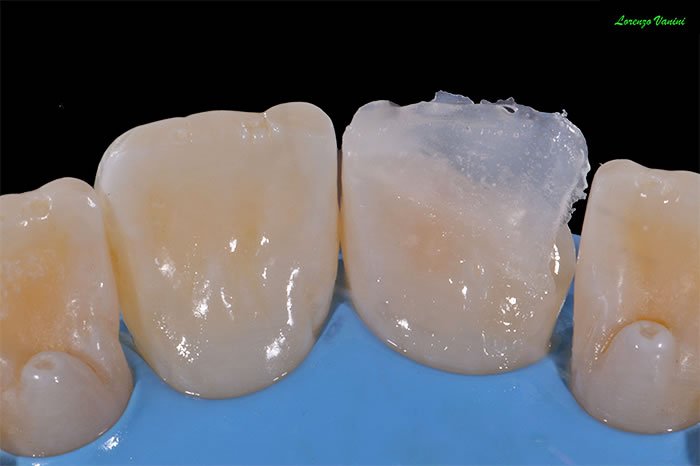
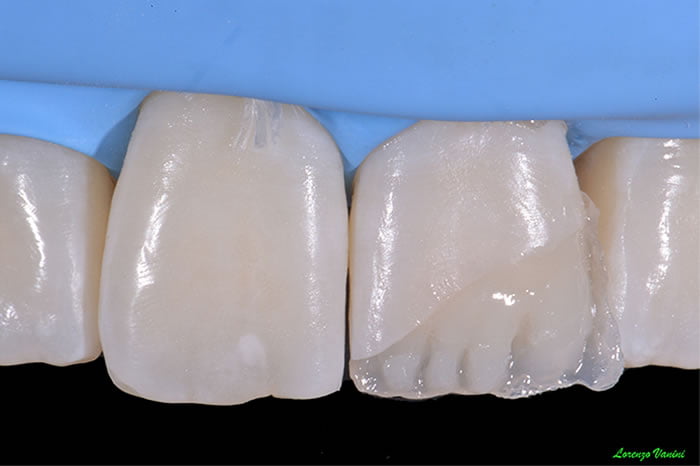
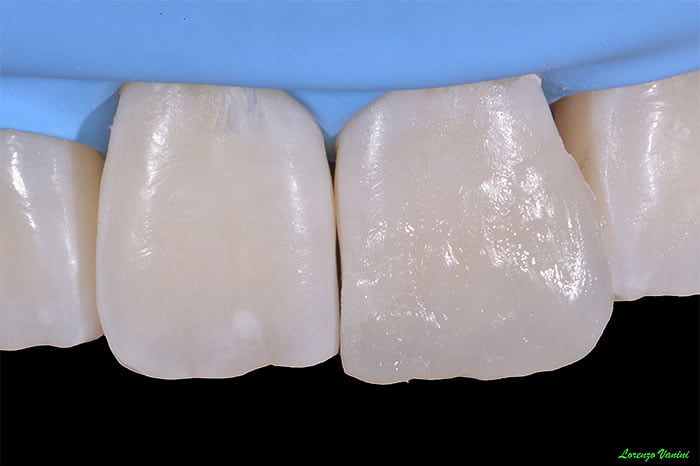
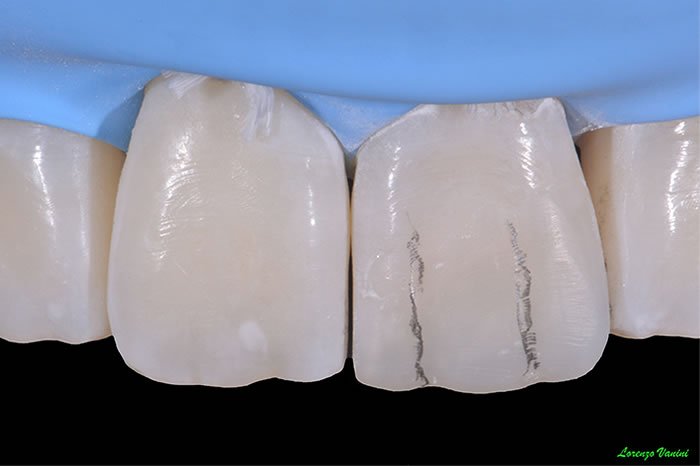
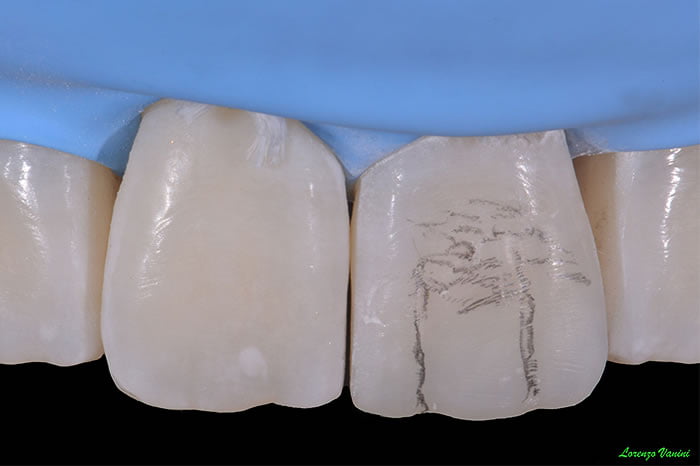
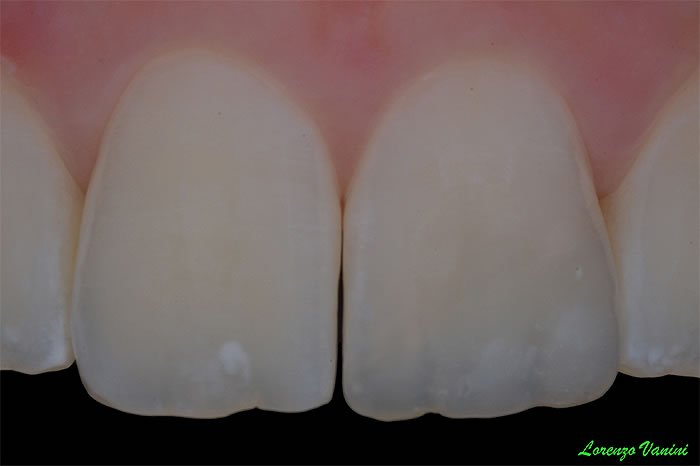
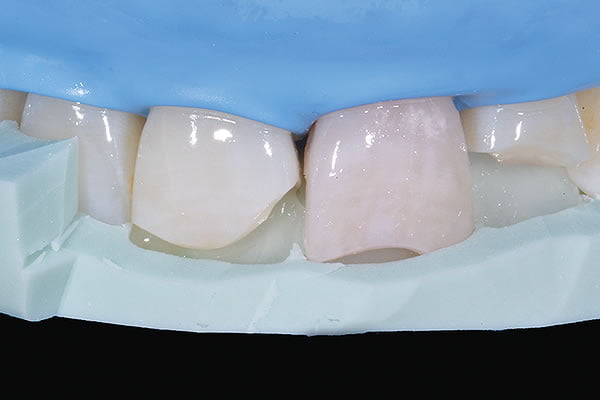
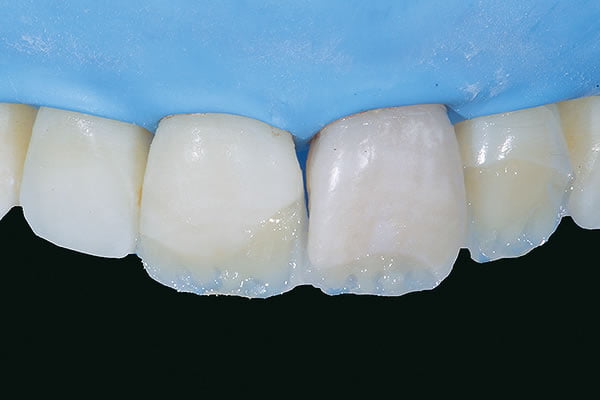
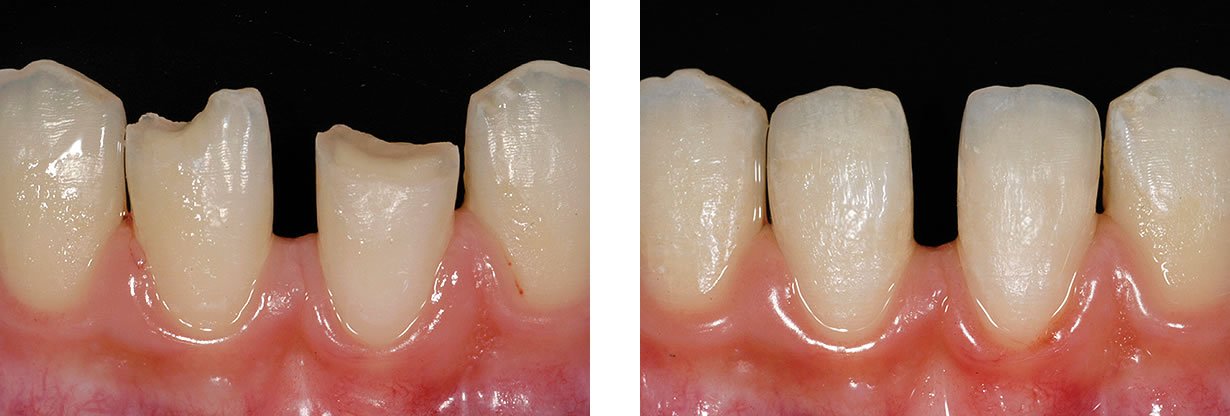
Step 1Class IV lesions in a young patient; on the lateral incisor the lesion is very deep, close to the exposed pulp. The elements show positive test to vitality. | Step 2Cavities: on vestibular side a chamfer has been prepared on the enamel thickness, while on the interproximal and palatal wall a 90° preparation has been made; the exposed dentine has not been touched. | Step 3The silicone index, obtained by the diagnostic wax up and properly cut, is tried after isolation of the field. |
 | 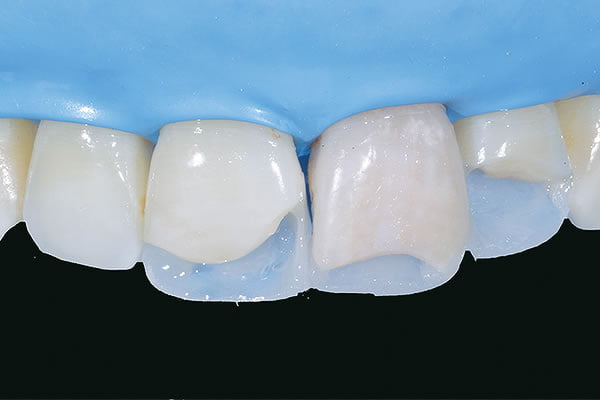 |  |
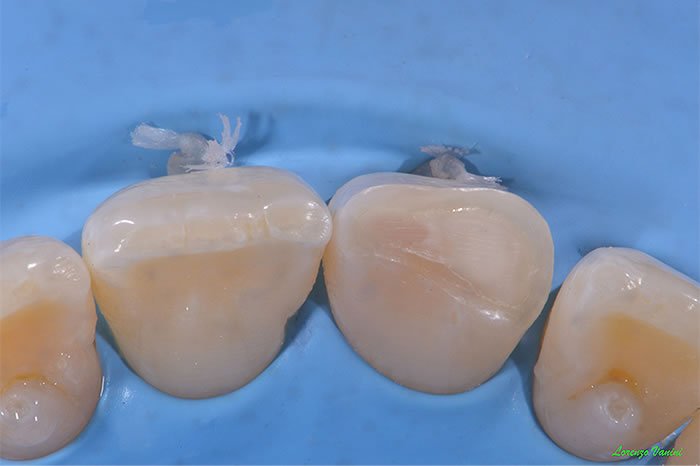
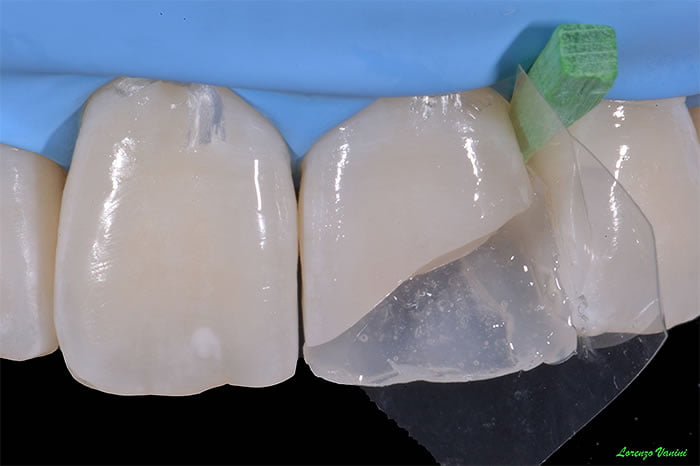
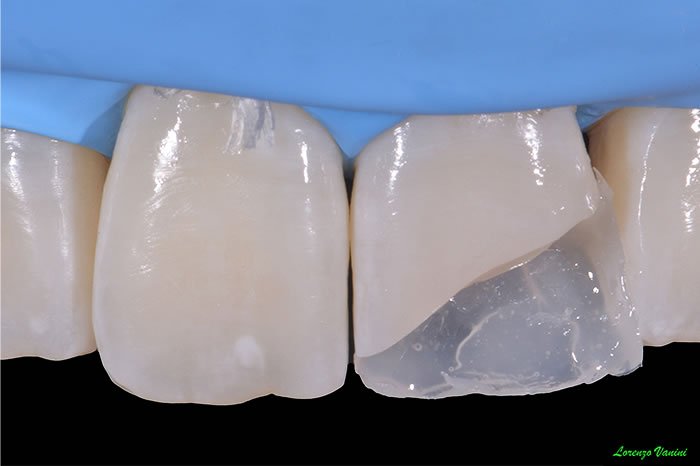
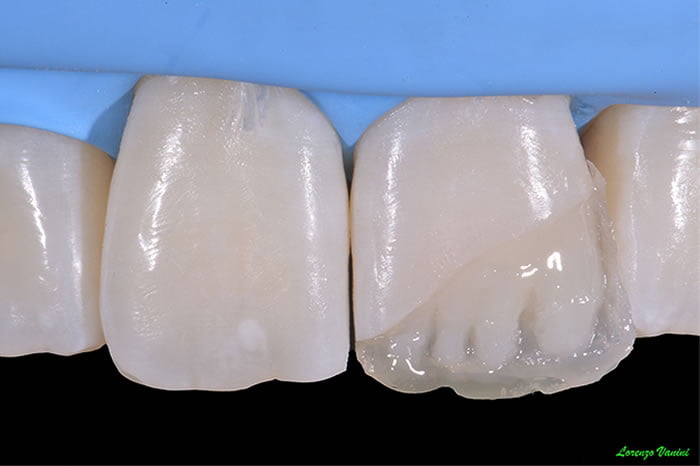
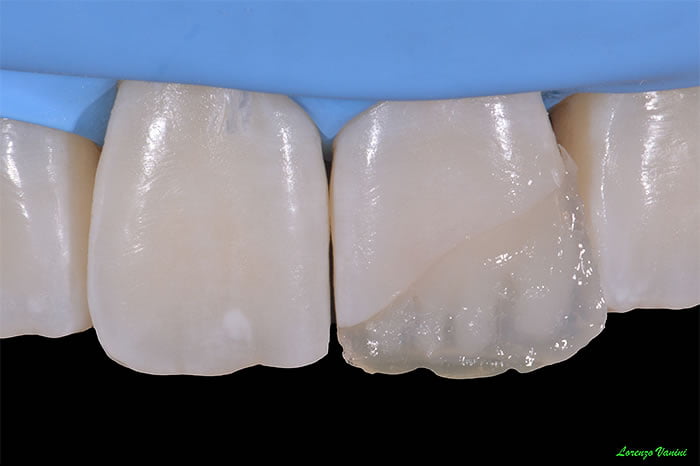
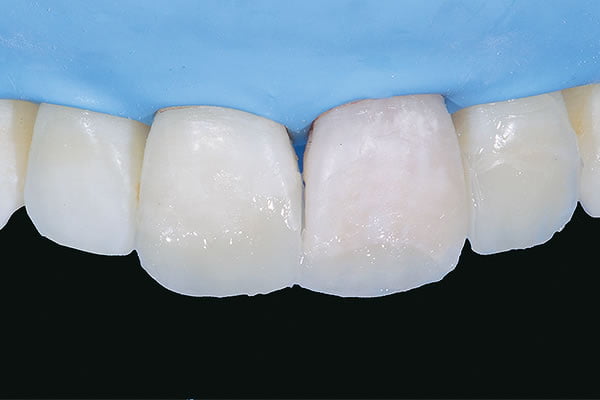
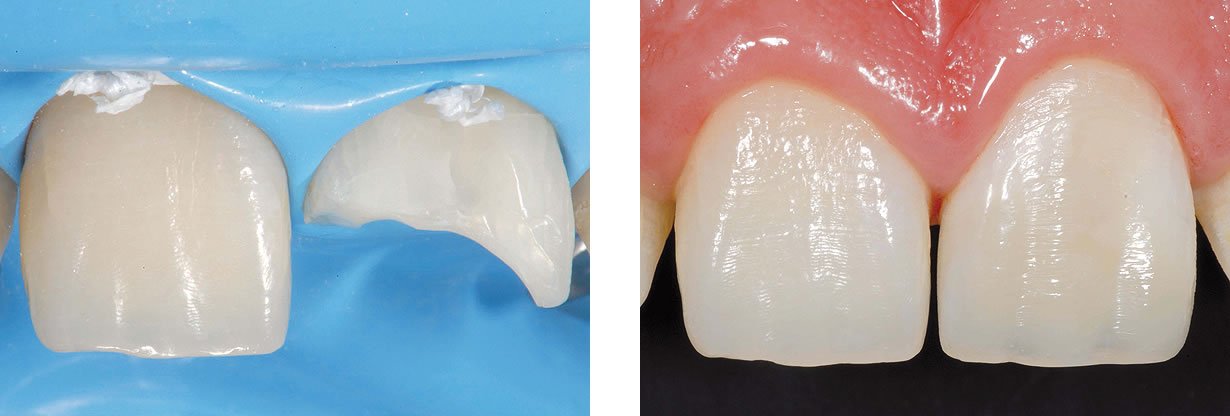
Step 4After the adhesive phase, to create the palatal walls, a thin enamel layer is applied on the silicon index. The enamel HRi UE2 is applied on the cavity margin with a dry brush, then it is cured and the stent removed. | Step 5With an acetate matrix, the interproximal walls are restored with the same enamel body. | Step 6Dentine body build up with dentine HRi UD4 and UD3. |
 | 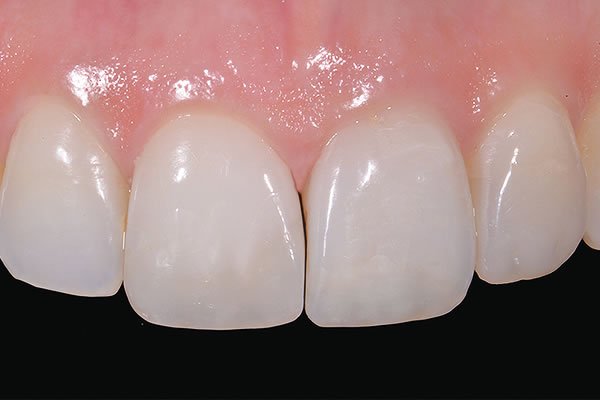 | 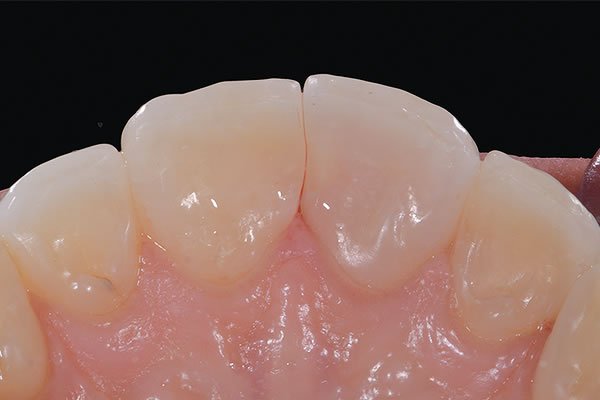 |
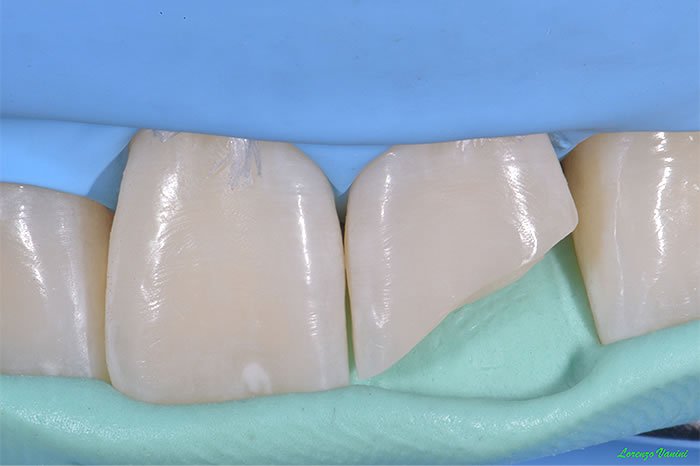
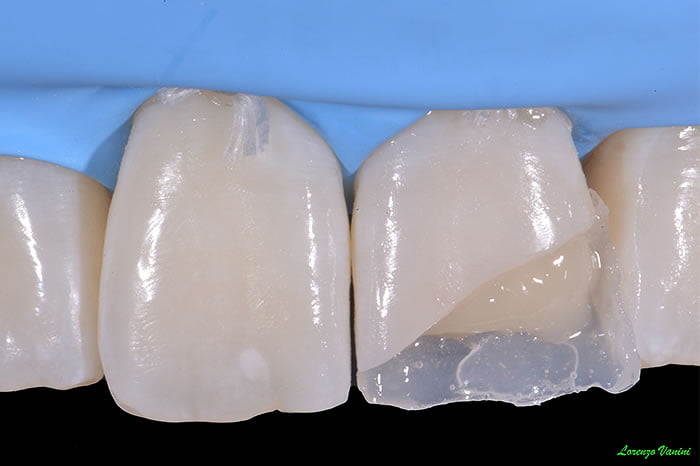
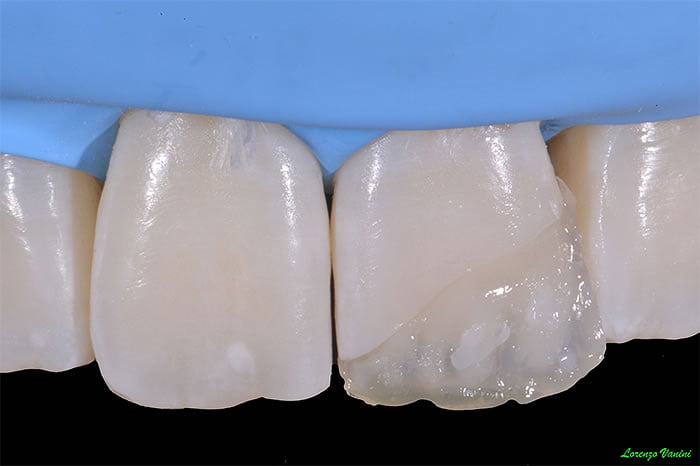
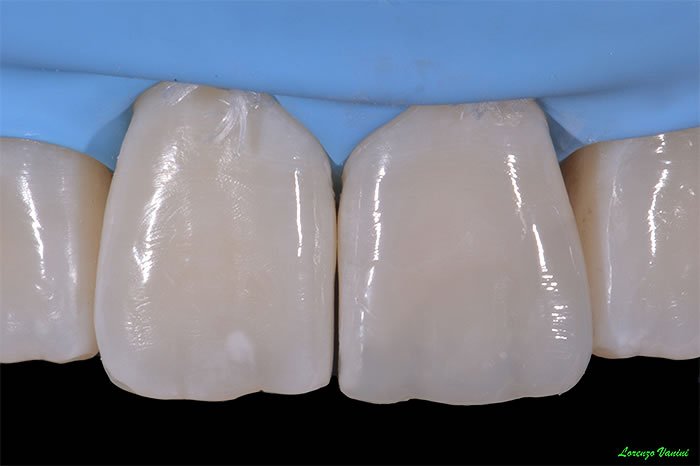
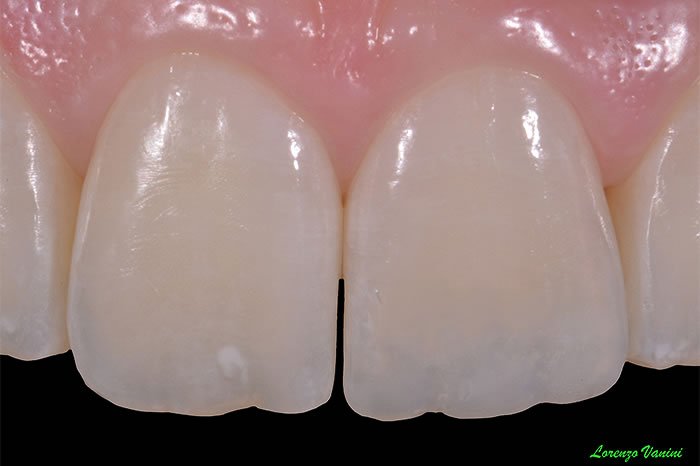
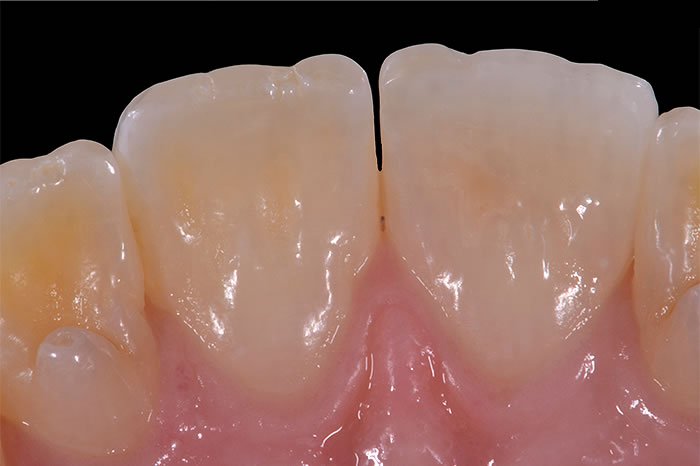
Step 7Vestibular enamel created with same HRi UE2 shade that is used also to fill the space between mamelons to create the opalescent. | Step 8Case finished. | Step 9Case finished. Palatal view. |
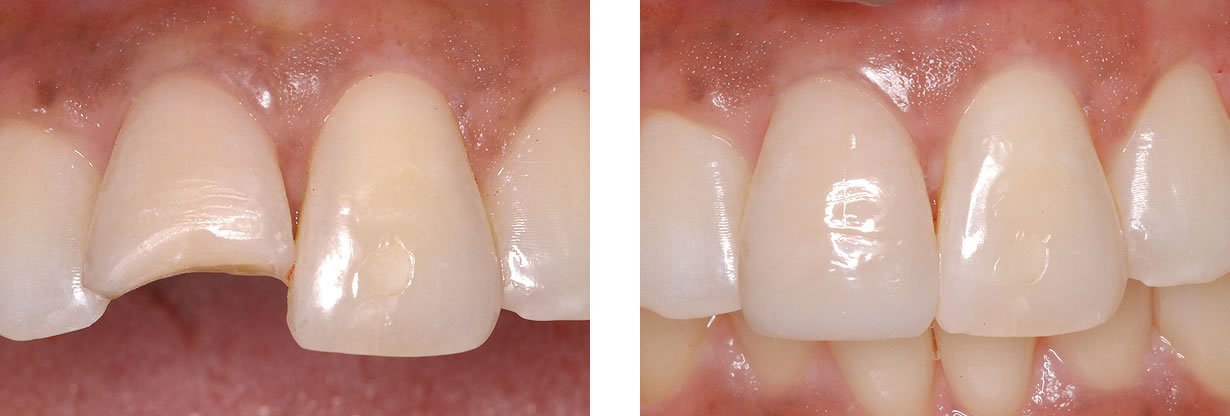
SMALL CLASS IV – Courtesy of Dr. Lorenzo Vanini
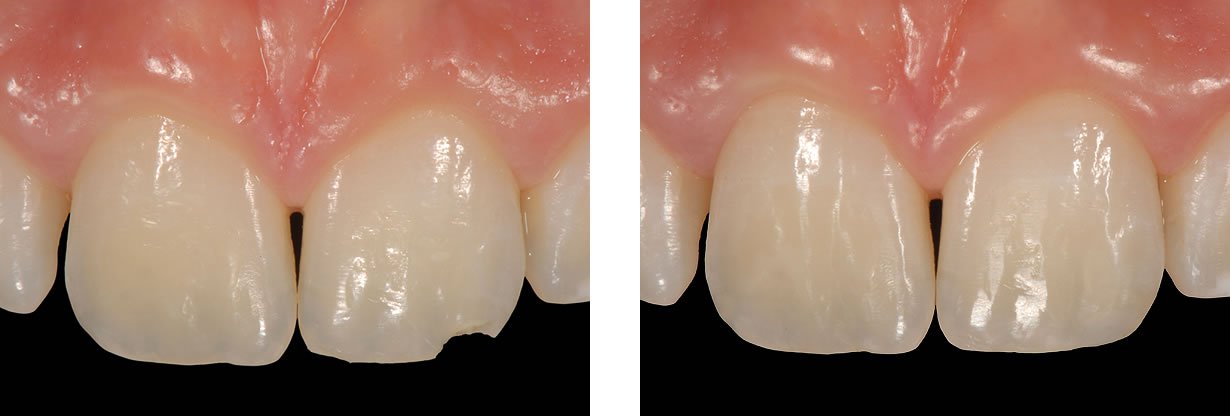
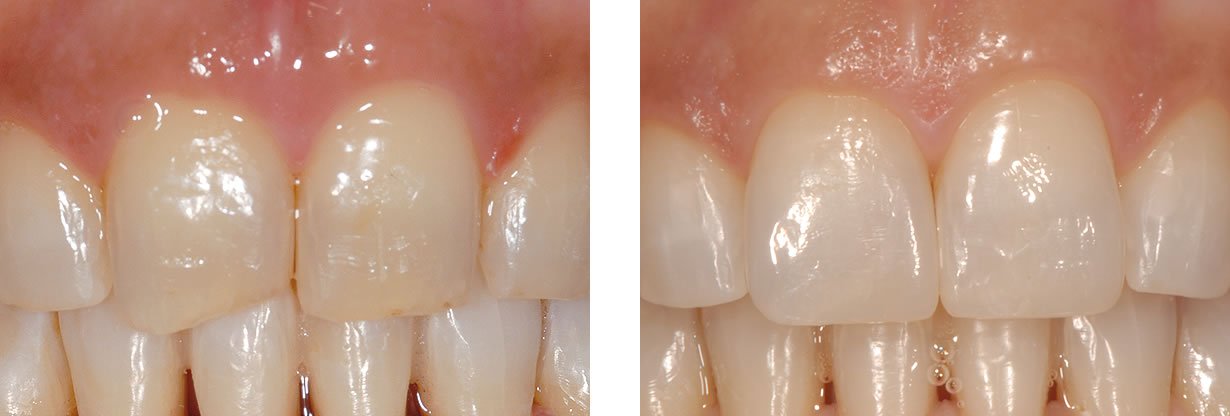
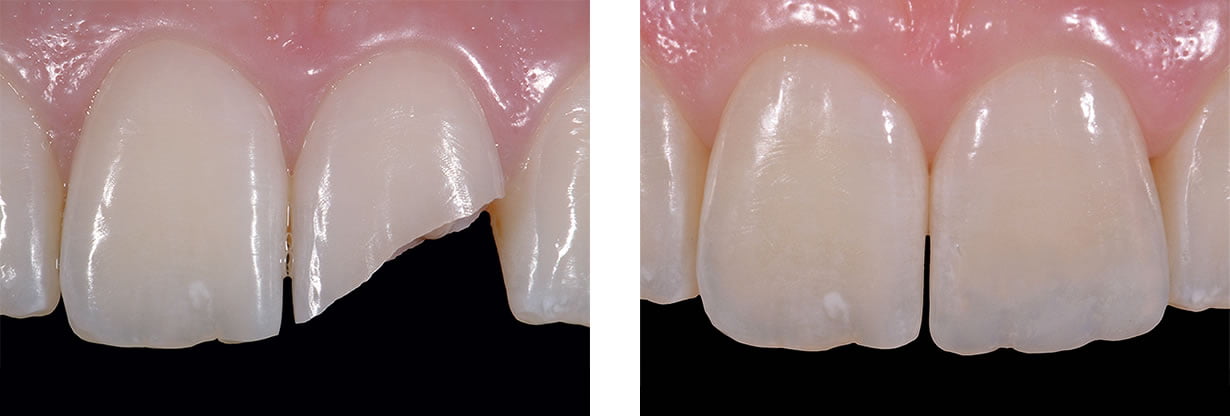
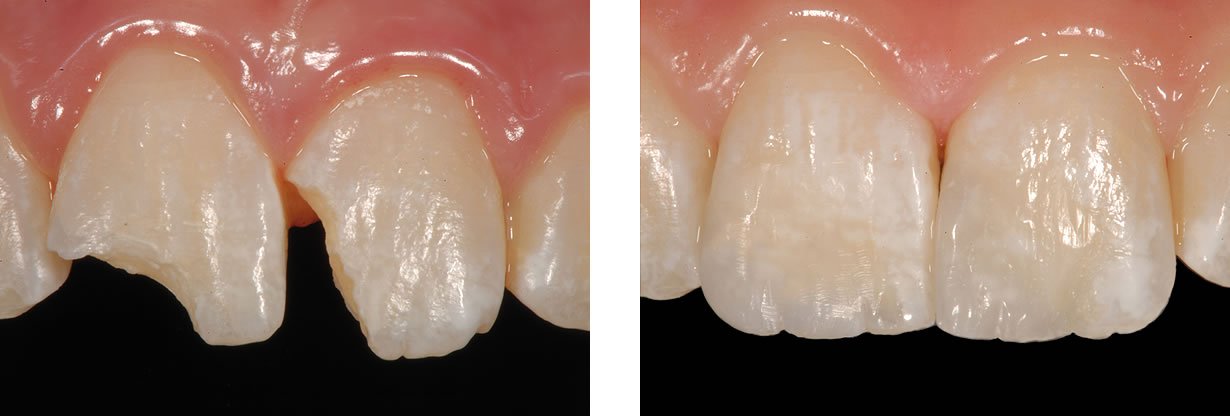
DIASTEMA – Courtesy of Dr. Lorenzo Vanini
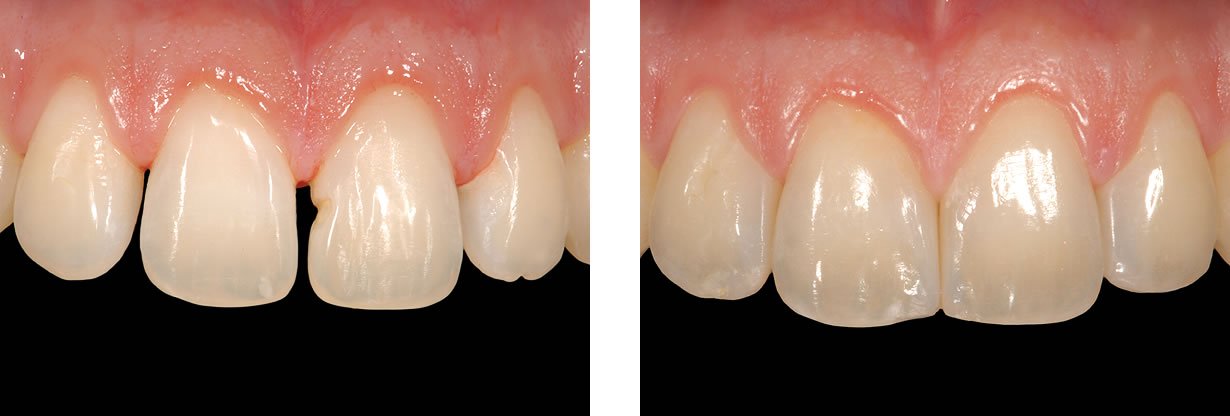
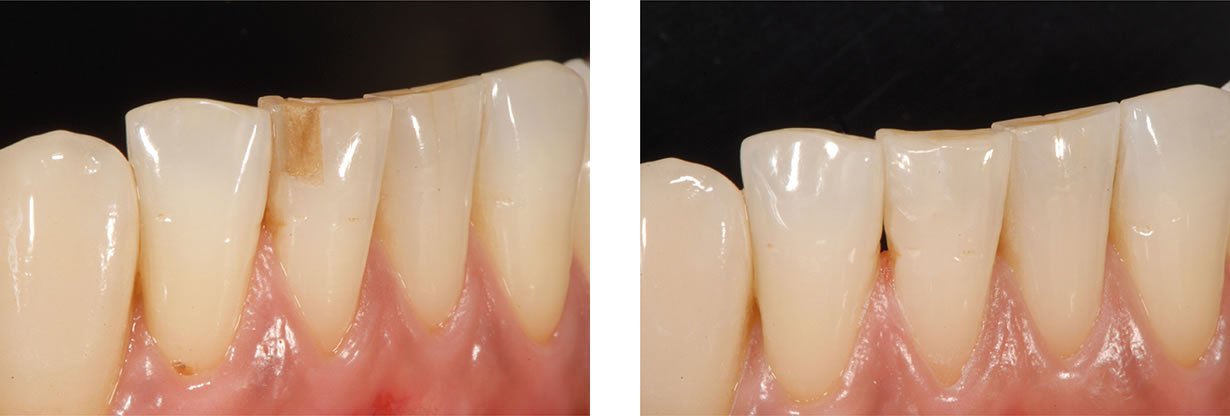
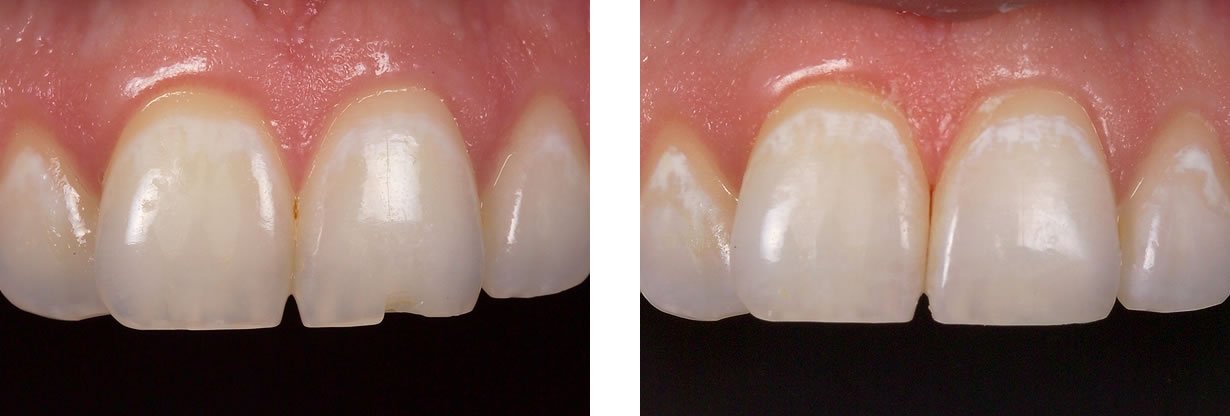
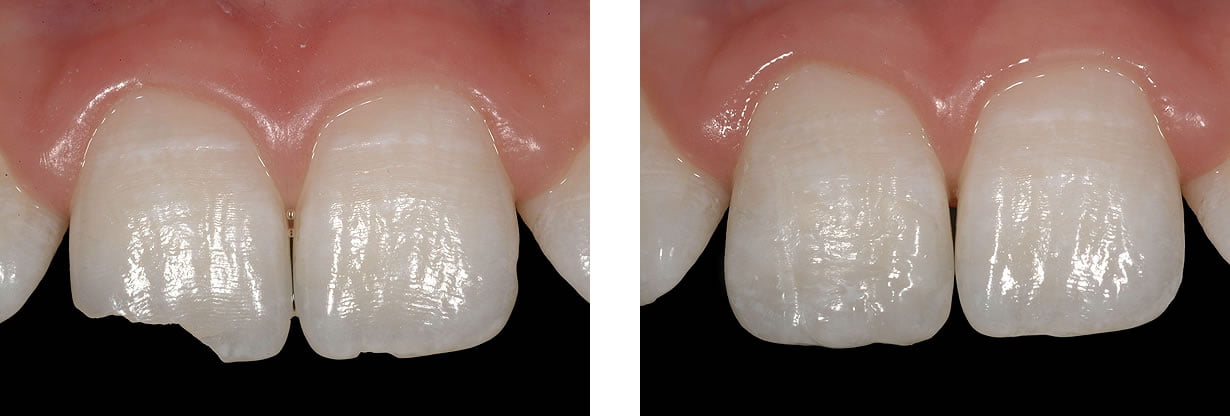
INCISAL EDGE – Courtesy of Dr. Michael J. Morgan
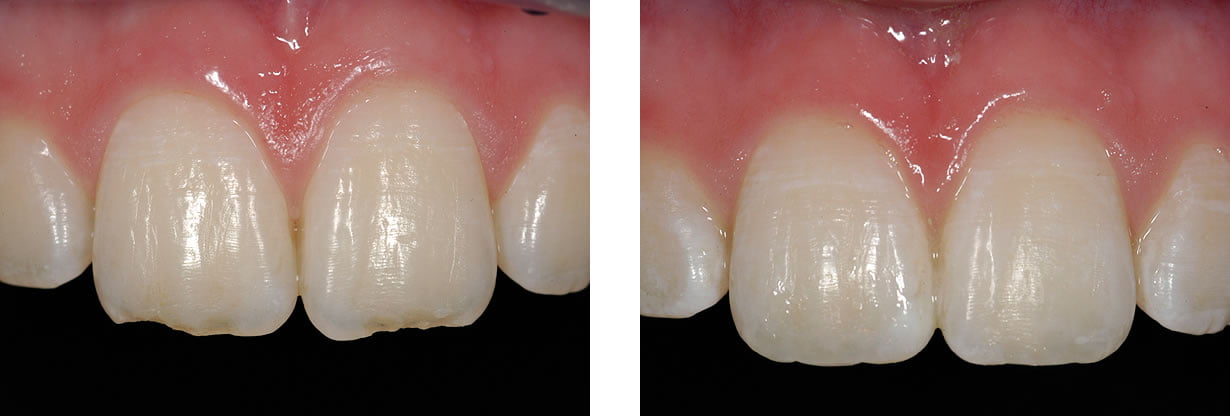
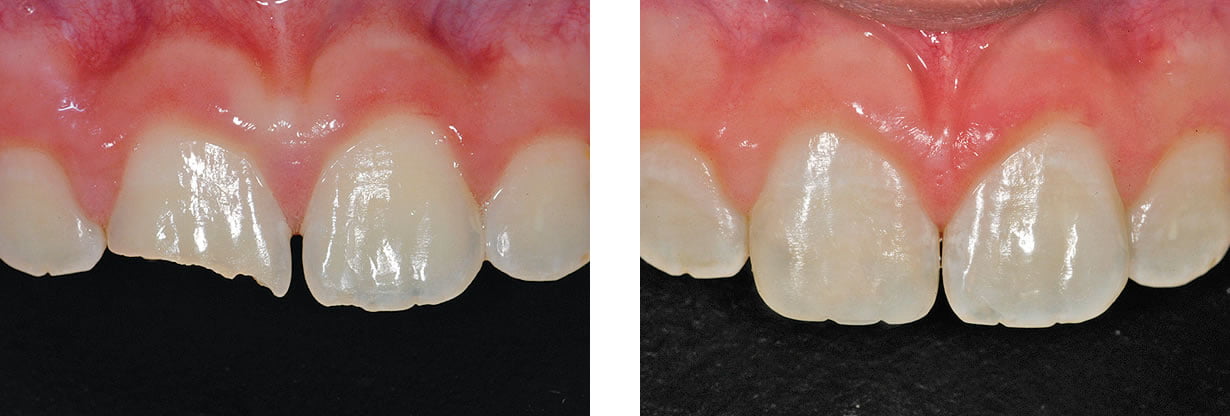
INCISAL EDGE – Courtesy of Dr. Lorenzo Vanini
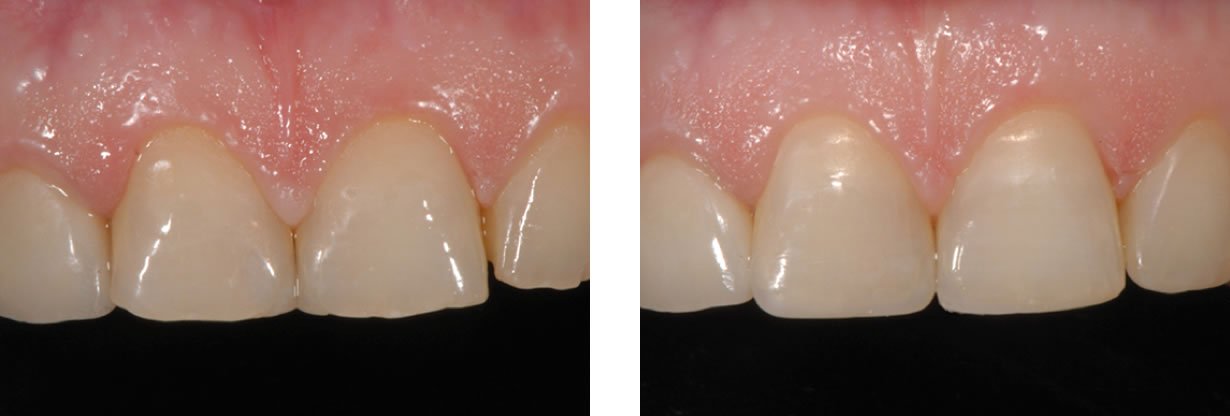
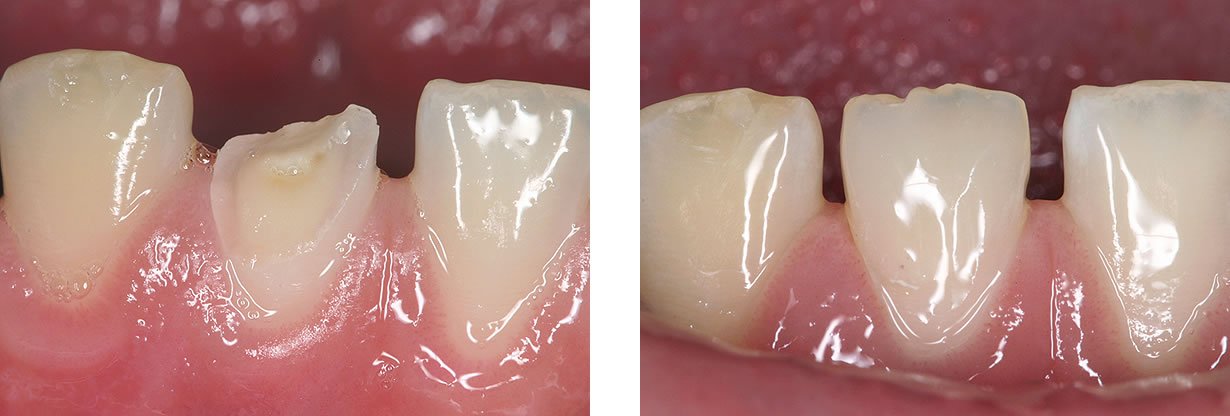
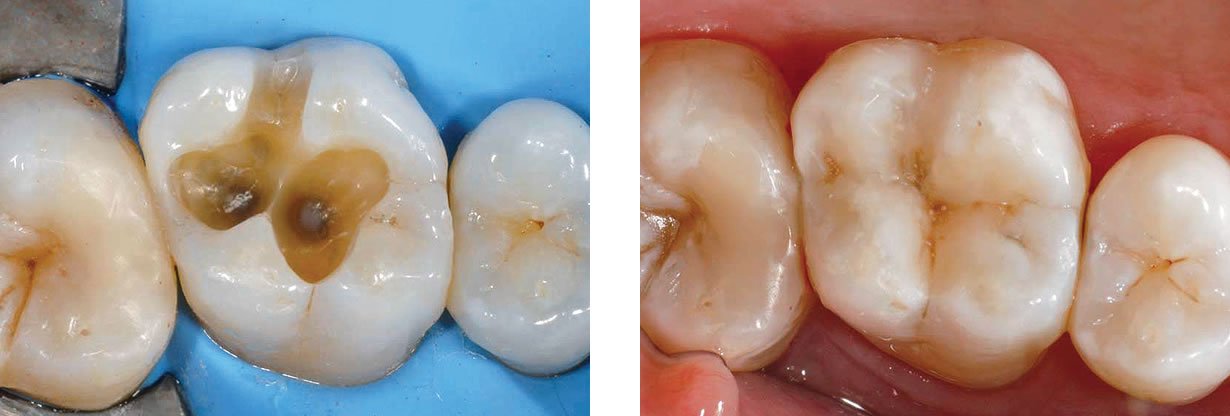
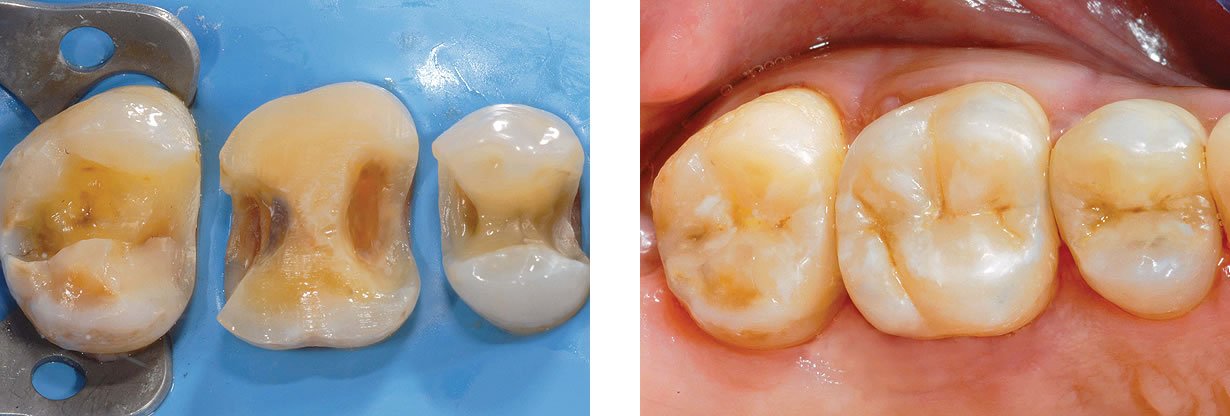
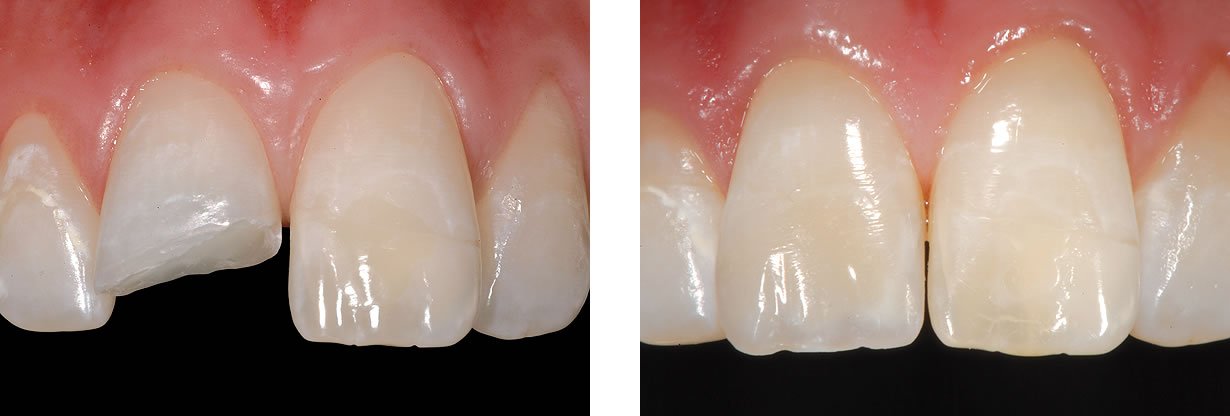
ULTRA-CONSERVATIVE RESTORATION – Courtesy of Dr. Lorenzo Vanini
SMALL CLASS IV – Courtesy of Dr. Todd Snyder
POST-ORTHODONTIC TREATMENT – Courtesy of Dr. Lorenzo Vanini
Courtesy of Dr. Carol Waldman
Courtesy of Dr. Amir Chafaie
Courtesy of Dr. Lorenzo Vanini
Courtesy of Dr. Lorenzo Vanini
Courtesy of Dr. Lorenzo Vanini
Courtesy of Dr. Lorenzo Vanini
Courtesy of Dr. Lorenzo Vanini
Courtesy of Dr. Michael J. Morgan
Courtesy of Dr. Lorenzo Vanini
Courtesy of Dr. Michael J. Morgan
Courtesy of Dr. Lorenzo Vanini
Direct restoration on vital incisor video (6:29 min.)
The benefits of using HRi composite video (6:55 min.)
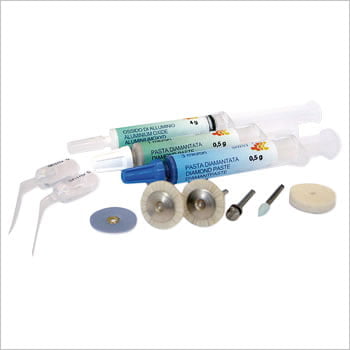
This kit includes necessary materials to get started with ENA HRi to complete restorations, without the complete shade selection for more advanced and complex anterior restorations.
Contains:
(Available in 5g syringes OR 12 x 0.3g tips)
This kit includes all the materials used during training in the Vanini stratification technique and will allow clinicians to complete all esthetic restorations.
Contains:
(Enamel & Dentin shades: available in 5g syringe OR 12 x 0.3g tips)